Thursday, January 30, 2025

Gunfight at Adobe Wells Station

 
With the scenario laid out in the previous post (see: On The Table Today), let's take a look at the player supplied bios for the cast of characters before diving into Wednesday's gunfight.

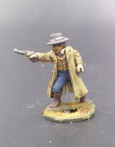
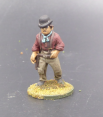
'Careful' McMinn (Tony) - One time marshal of Hades, Nevada - it is said he never left his office, but this may be a lie.  A Pinkerton Agent.

Simon Sudbury, 'The Accountant'
(Dave B.) -
 Originally from Sudbury, tho' he's cagey about whether that's Sudbury, Mass, or Sudbury, Suffolk.  He does the books for the Pinkerton agency, and he's been sent to do an audit on the stock held at Adobe Wells, only to find himself caught up in a gang war! Lucky for him, back on his family farm in Sudbury, he learned to shoot rats in the old barn... Them gangsters ain't going to get their hands on the Bought Ledger without a fight.


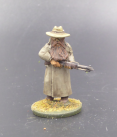
Zaccary Zebedee 'ZZ' Hood (Chris). Noted Indian fighter. Noted by him that is. May have served in HM the Empress Queen's army on the NW Frontier (where he did his Indian fighting). Possibly cashiered over a scandal in Poona, and allegedly thrown out of Brooke's Club after an incident involving a large bowl of Eton Mess, several cheroots, a young valet and Oscar Wilde. Later rumored to have left New York hurriedly for the Klondike after more unspoken misdemeanors. Said by some to be a by-blow of Colonel Sir Harry Paget Flashman.

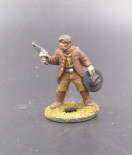
William 'Wild Bill' Briscoe (Mark) - one of the ne'er do wells wanting to take what the Pinkertons are guarding.

'Daring Dave' McGinty (Dave C) - As he grew into manhood, Dave became known not just as Daring but legendary, a name earned through countless duels where none could match his wit or steady hand. At 56 years old now, battle-hardened yet unyielding like an ancient oak tree before the storm, he'd taken part in some of the bloodiest shootouts ever recorded from Arizona to Texas, the echoes of gunfire forming an unexpected lullaby throughout much of his life. But behind those rough hands lay wisdom gathered from each confrontation and seasoned with humility; they rendered him both feared and respected among fellow gunslingers who knew well enough never to underestimate this aging fighter. However thinly veiled by bravado was Dave's story about loss, every bullet fired hinted at buried memories, old regrets flickering within eyes that sparkled only when illuminated by tales shared during raucous nights at saloons filled with smoke, laughter and endless streams of redeye whiskey.


On to the gunfight!

As the last of the crates were unloaded from the wagon and the wagon was seen off toward its next destination, the Pinkerton agents relax and head back to the station compound.
The Pinkertons at ease.
Before the boys can settle in to relax, though, a stranger appears from behind some boulders out of the northwest with rifle in hand.  The long-bearded stranger cautiously bears down on the station with a look of determination in his eyes.  He looks like trouble!  "Careful" McMinn races across the compound to take up a position behind one of the many stacks of crates.  A shot rings out from the stranger ('ZZ' Hood) but his shot is not well-placed.  McMinn literally dodges a bullet.
'ZZ' Hood approaches the station.
Hugging the wall of the adobe shed, Simon ('The Accountant') rounds the corner of the building to see ZZ and McMinn exchanging fire.  Wasting no time, Simon opens fire on ZZ but empties his six-gun without hitting the outlaw.
Lots of gunfire but no hits!
Seeing that Simon's gun is empty, ZZ moves up to the wall to give himself some cover from McMinn.  Rather than stick to his cover behind the crates, 'Careful' dashes out from behind the boxes and makes a beeline toward the gap in the compound wall.  As he passes through the gap in the wall, McMinn blazes away at ZZ.  McMinn empties his gun without causing much harm besides a graze on the arm.  
With guns empty, the Pinkertons have found trouble!
Now both Pinkertons are caught with their guns unloaded.  Probably stunned by not receiving any more than a scratch from all of the incoming fire, ZZ stands still, frozen.  With his gun now empty, Simon whips around and heads back into the shed.  A few seconds later, Simon pops up on the shed's rooftop.  Still, he has not thought to reload his gun.  In all of the commotion at the northwest corner of the compound, neither Pinkerton has noticed that they have company coming up from the south.  ZZ may not be alone!
Simon, up on the rooftop!
Finally snapping out of his stupor, ZZ fires off a couple of rounds from his Winchester.  McMinn is struck in his left arm.  Simon looks on from above.
'Careful' is hit!
While McMinn tries to shake off the effects of the wound to his arm, shouting and shots ring out from across the compound.  Simon yells out, "I've been hit bad!"  Yes, Simon has been hit but not too bad.  What Simon figured was a fatal shot in the chest turned out to be only a flesh wound.  The blaze of fire came from behind Simon.  As Simon ducked down, he spotted two more gunmen bearing down upon his position.  The shots striking Simon came from 'Wild Bill' Briscoe's pair of six-shooters as he carpeted the shed with bullets.  At long range many of the shots missed but one found its mark.    

Hearing Simon's screams above the sound of gunfire and with his gun still unloaded, McMinn charges ZZ with his empty pistol clubbed.
With gun empty, McMinn rushes ZZ.
With a roundhouse swing, McMinn slices through the air but misses ZZ altogether.  Slightly annoyed, ZZ turns his rifle around and with butt first, pops McMinn in the face!  With a bloody face, McMinn is stunned and he has lost his nerve.

Having had time to recover from his flesh wound and reload his six-gun, Simon, still positioned on the roof, takes aim at ZZ from above and fires away.  The first shot hits ZZ in the head.  Before ZZ can hit the ground, a second shot drills ZZ right between the eyes.  ZZ falls dead, only a few feet away from McMinn.  McMinn turns around looking up to see Simon smiling.  Simon, the Accountant, shouts down to McMinn, "that's how you do double entry!"  McMinn picks himself off of the ground, brushes himself off, and retreats to the relative safety of the nearest large stack of crates.    
Fistfight turns deadly!
Preoccupied by saving McMinn, Simon fails to notice that the two gunmen are now within the compound walls.  'Wild Bill' rushes across the compound, enters the shed, and then climbs onto the roof.  As Wild Bill emerges from below, Simon spins around and empties his gun in Wild Bill's direction.  No bullet finds its mark.  With his gun empty, Simon takes a swing at Wild Bill but misses.  Wild Bill lunges at Simon and they wrestle on the rooftop.  'Daring Dave' McGinty tries to get a clear shot on Simon but his position on the ground below and the uncertainty of hitting Wild Bill in error forces Daring Dave to hold his fire.   
Wrestling around on the roof.
After a minute of fighting to gain control, Wild Bill pistol whips Simon along the side of his head.  The force of the blow puts Simon onto the ground.  With Simon writhing on the ground in pain, Wild Bill pulls his second pistol from its holster and plugs Simon in the leg.  The pain is enough for Simon to lose consciousness.  With Simon lying motionless on the roof, Wild Bill puts a final round into Simon's head.  "I never much cared for accountants", Briscoe murmured. 
Wild Bill takes out Simon!
After seeing Wild Bill prevail on the rooftop, McGinty turns his attention to McMinn crouching behind the pile of crates.  With McMinn now shaken from wounds and from Simon's loss, ‘Careful’ falls into a predictable habit of popping up to take a shot and then ducking back.  Watching Careful's routine, Daring Dave takes steady aim and when McMinn next peers out to fire, Daring Dave pops him with a couple of holes in his shooting arm!  With his nerve already shaken and his body riddled with bullet holes, that is enough.  'Careful' McMinn surrenders.   
'Daring Dave' plugs McMinn a time or two more...
before McMinn surrenders.
This gunfight is over and the outlaws can lay claim to the spoils of victory.

What a fun and exciting little action!  We played 14 turns in a little under two hours.  There was drama and tension with each draw of an activation card.  I was rusty with the rules but all players helped to keep me on the right track.  This was a good introduction for all.  All four players picked up the rules quickly and we had many a good laugh.  

Looking forward to giving these fellas a rematch soon.

Thank you for a fun session!

Wednesday, January 29, 2025

On the Table Today...

On the table today features a collection that has not seen the table in about 25 years.  Yes, 25 years!  My Old West collection hits the table in a five-player game set in the New Mexico Territory.  Wanting to give the fellas a break from historical refights, today's action takes a step back into the Old Southwest, Hollywood style.  The Rules of Engagement for today's action is an old (1998 by the date stamp on my file) playtest copy of Wargames Foundry's The Rules With No Name.  Getting the figures out after so many years will be good fun.  Reacquainting myself with the rules while incorporating slight adaptations for grid play has been enjoyable too.  Hopefully, I can muddle through the rules in a remote setting with five players.   

On to the scenario!  

Gunfight at Adobe Wells Station, 1909

Up in the Mogollon Mountains of the New Mexico Territory, the mining town of Mogollon was experiencing one of a number of recent labor disputes.  Workers in the Little Fannie Mines were prone to protesting working conditions and generally slowing production.  With a new method of precious metals' extraction under testing, work stoppages were becoming quite costly.  Without better labor organization, these rebellions were easily and mostly peacefully squashed.  This time was different.  Labor leadership finally was able to organize a work stoppage.  With the mines idle, tempers rising, and profits falling, company leadership decided now was the time to step in and put an end to such nonsense.

When labor troubles arise and cannot be handled internally, the company to call to deal with such security issues and labor disputes was the Pinkerton Agency.  Company officials and the Pinkerton’s decided it important not to cause alarm in Mogollon before all of the pieces were in place to put down the strike.  Over the last week, the daily stage run between Silver City and Mogollon had been dropping off crates of weapons and cyanide (used in the new extraction process) at the Adobe Wells Swing Station.  Only a handful of Pinkertons were on guard at the station as the inventory grew.

This activity at Adobe Wells did not go unnoticed.  A number of groups had an interest in gaining control of growing weapons and cyanide stockpiles.  Real “entrepreneurs” were motivated to grab the stockpile to sell to the highest bidder.  Miners in Mogollon would be happy to learn of the disappearance of these tools of the industrial trade.  The Apaches would be most eager to gain several crates of first-rate weapons.  Which group would get to Adobe Wells first?

Rules: The Rules With No Name
Figures: 25mm
Table: 5 inch hex grid.
Number of Players: Five (Two Pinkertons and three gang members).
Number of Characters per Player: One. We may recycle characters if any go down quickly.
Cast of Characters:
Character Attributes: All characters are classified as Gunman.
Victory: Last man standing.
Starting Positions: Pinkerton agents begin in Adobe Wells Station compound. Band of outlaws enter at any table edge.


Saturday, January 25, 2025

What's In A Name?

After seeing the above book mentioned on Peter's blog (see A New Book...) and listening to the authors' podcasts, I placed an order.  Book arrived quickly and was read just as quickly.  I won't repeat the contents of the book since Peter did that and Table of Contents can be seen on Amazon.

What I do want to discuss is the authors' wrestling with the renaming of the gaming aspect of the hobby that we enjoy.  Many of us likely refer to this hobby as miniatures wargaming or playing a miniatures game.  Really, I lump all facets of the hobby simply into the catch-all, wargaming

The authors' take a different tack, however.  They state their rationale for first dismissing the use of tabletop games, then dismissing miniatures games, then dismissing miniatures wargames, before settling onto the term of non-discrete miniatures games

The name, non-discrete miniatures game is chosen since the authors argue that,
  • Games are not necessarily about war.
  • Spatial relationships between miniatures and terrain are crucial.
  • Any physical object can be introduced into the game and have meaning in game terms (non-discrete components).
  • Movement and positioning are not limited to fixed increments or grid spaces (non-discrete positioning).
Non-discrete is an interesting term to choose and returns me to the days of studying mathematics.  Typically, one sees a bifurcation between discrete and continuous but not between discrete and non-discrete.  I suppose if the term, continuous was utilized as in continuous miniatures game, readers might conclude that we game non-stop!      

Moving on, the authors define these games by their unique spatial characteristics in that,
  • Precise physical positioning matters.  That is, movement and placement are analog (and continuous) and not grid-based.
  • Players can bring any object to the game table and game systems must accommodate an infinite variability of components.
One example given of discrete movement and figure (marker) placement is the game of Monopoly.  A playing piece can only be in one of the grid spaces on the playing board at any one time and not between two spaces.  In a non-discrete game, movement is governed by a measuring device with a miniature able to move anywhere along that vector and stop anywhere short of the maximum move distance allowed.  This non-discrete movement criterion seems to not only explicitly exclude grid-based games from inclusion into non-discrete miniatures game by definition but implicitly as well with the continuous nature of measured movement along a vector. 

In later chapters, the authors relax the condition for non-griddedness.  Games having gridded movement or zoned movement may fit into the structure of building a non-discrete miniatures game as long as the focus on the design remains on the spatial relationships within the game and the infinite variety of components.  Given that discrete positioning and movement criteria are later relaxed, the grid vs non-grid distinction should be dropped from the definition altogether.

With the argument for excluding gridded games jettisoned, what remains the focus of non-discrete miniatures gaming?  What remains constant is the reliance upon the external components brought into the game system.

What distinguishes many boxed miniatures games from the non-discrete miniatures games that the authors describe?  The difference is that the former is self-contained with the rules and all of the components necessary for play while the latter is similar to a toolkit with a programmed game engine requiring any number of external inputs provided by the player(s).  These external inputs could include figures, terrain, army lists, dice, measuring devices, etc.
       
Is the classification still between discrete vs non-discrete miniatures games or is a better fitting distinction between endogenous vs exogenous miniatures games?  I suggest that the latter terminology may be a better fit if one agrees with the authors that the deciding attribute is bringing external inputs into the system.  Still, it is all wargaming to me.

There is much more to be pulled from this book of interest to wargamers and wargame designers whether focusing on non-discrete miniatures gaming or not.  I have only brought up the main thesis of Chapter 1!  With so much to consider, I may non-discretely dip back into this text on occasion.

Tuesday, January 21, 2025

Agnadello, Game #4

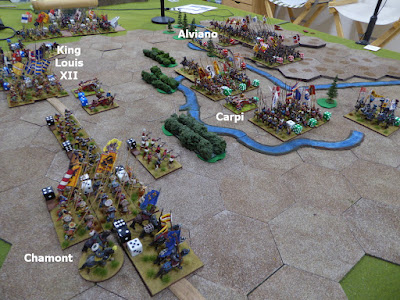
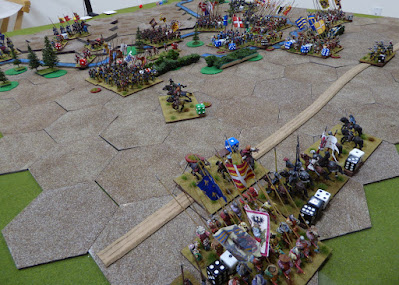
Game #4 in the series of 1509 Battle of Agnadello refights took place a week ago and saw a rematch with the players of Game #1 (see BatRep: Agnadello 1509).  In Game #4, players switch sides with Tony (Carpi) and David B. (Alviano) commanding the Venetian Army while Mark (King Louis XII) and Chris (Chamont) taking command of the French Army.  On Turn 5, David C. joins in to take over Tremoille's reinforcing column.    
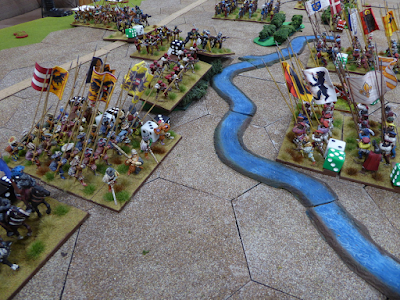
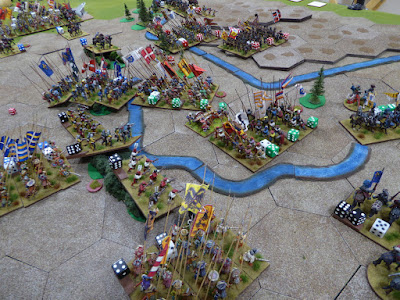
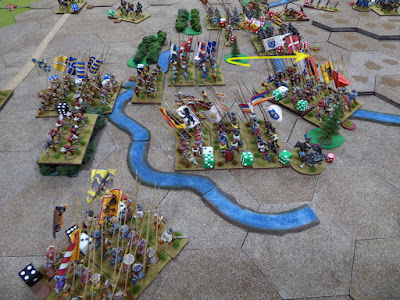
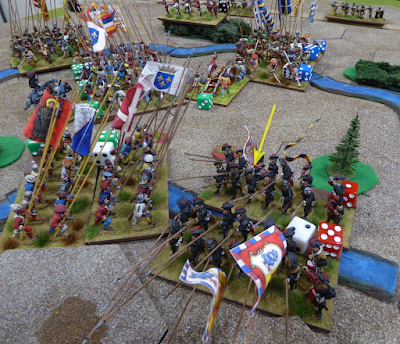
Armies arrayed for battle.
Recall that in Game#1, the battle ended in Tony and David B. scoring a decisive French victory.  Would game #4 even the score?  Read on to find out!

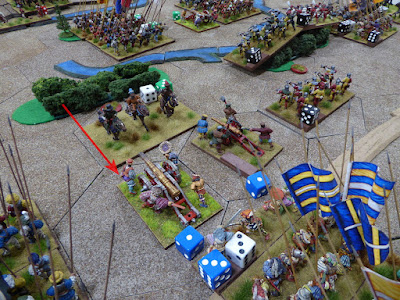
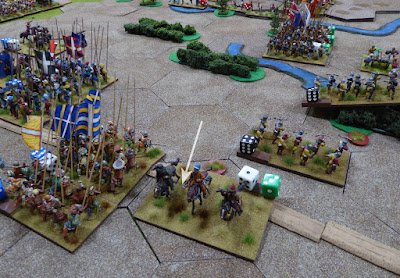
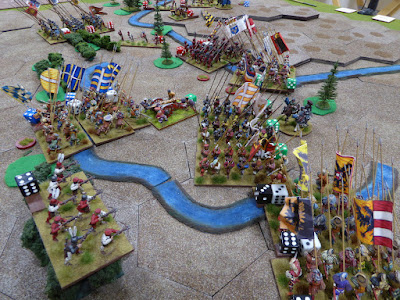
As both armies advance toward one another, Carpi moves his light cavalry forward in a charge against the King's exposed guns.  As an aside, in my two games with Richard, this ploy worked for Richard when he led the Venetians but failed for me when I was at the Venetian helm.  For Tony, this day sees the Stradiots sweep away both guns without hardly breaking a sweat!  The Venetians are off to a solid start.  Carpi's two pike blocks hold their positions behind the irrigation ditch as Chamont brings his troops forward. Gascon crossbowmen take up positions in the vineyards and harass the Italian pikemen.
Stradiots attack!
Both of the King's guns are destroyed!
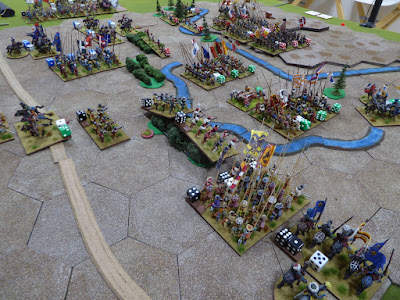
The French Right Wing advances against the Venetian Left.
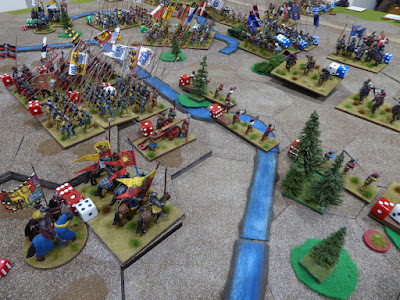
Venetians come under fire.
Annoyed by losing his guns at the start of battle, King Louis orders his wing forward.  Having overrun the French guns, the Stradiots briefly tangle with the Swiss before retiring in search of a way out of the bind in which they find themselves.  These horsemen make a long ride behind enemy lines!
The King sets his wing into motion.
Stradiots' long ride behind enemy lines!
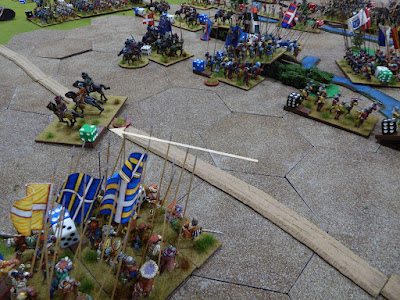
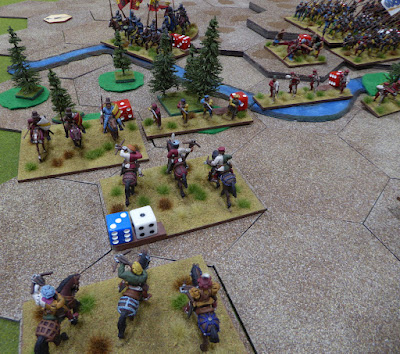
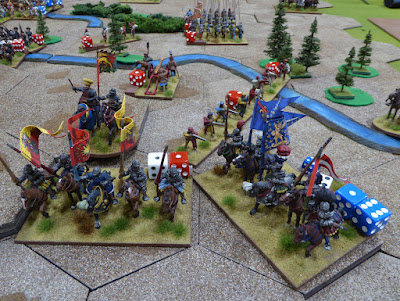
In an effort to counter the King's movements against the Venetian Right, Alviano begins the laborious process of bringing his cavalry across the ditch.  Having successfully brought his light cavalry over the obstacle and while making its way through the woods, Alviano's light cavalry come up against enemy cavalry.  Before clearing the woods, the Venetian horsemen are attacked by the King's mounted crossbow and driven back.  Sticking with them, the crossbowmen scatter the enemy when pursuit leads to rout.

Having dispatched the Venetian light cavalry, headlong pursuit brings the pursuers face to face with Alviano leading his MAA over the ditch.  Still disordered from their fight with the terrain, Alviano easily sees the light cavalry off.  The French light cavalry retreat after having suffered heavy casualties.  Alviano takes up pursuit of the pursuers and continues forward into more French light cavalry.  By now, Alviano's attacks have run out of momentum, and he orders his MAA back into the woods to recover. 
Light cavalry clash in the woods...
the French pursue...
but are thrown back when Alviano brings his MAA up.
Exhausted, Alviano retires back to the safety of the woods. 
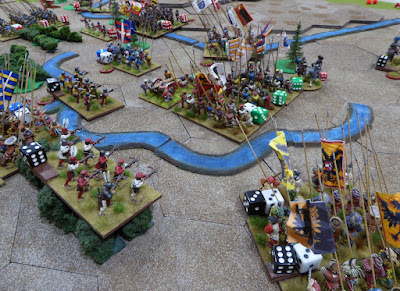
Carpi's Italian pike blocks continue taking crossbow fire as the rightmost block turns to face a potential threat from the King's French pikemen.  Carpi keeps his heavy gun in action by pounding the Gascons in the vineyard.  Neither army is anxious to cross the ditch to bring the fight to the enemy.
Looks like a stand-off in the center.
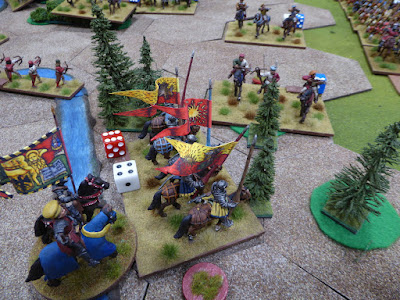
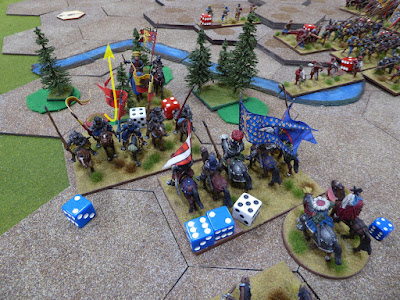
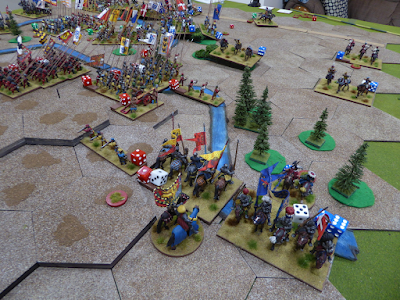
Back on the French Left, the King takes advantage of Alviano's reluctance to emerge from the woods.  If the Italians will not come out, the King will go in!  Given the difficulty of the ground, the odds are about even as the French Gendarmes move into the woods.  In a brief clash, Alviano is sent backwards into the ditch.  At the head of his Gendarmes, King Louis sets off in pursuit, but the nature of the ground prevents him from catching the fleeing Italians.  In fact, the King completely misjudges the direction of retreat and completely bypasses the enemy in the woods! 
Alviano attacked...
and driven off by the King!
In the confusion, King Louis pursues past Alviano.
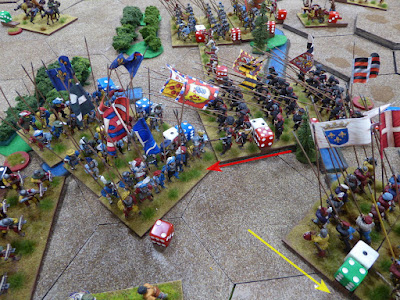
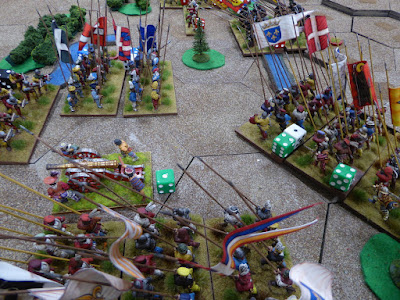
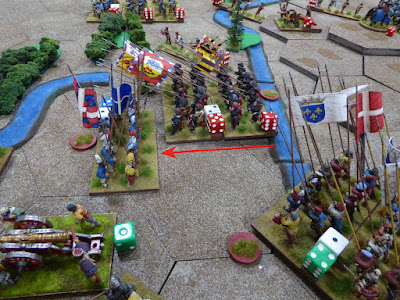
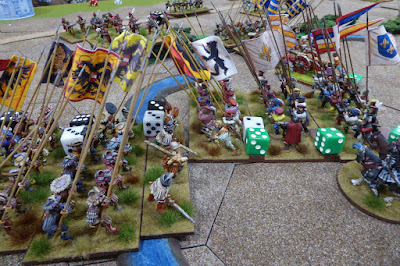
After peppering the central Italian pike block with missile fire, the French pikemen enter the ditch to take the fight to the Italians.  In a lengthy pike scrum, the Italians are pushed back.  Losses mount.  
Over the ditch...
and into the Italians!
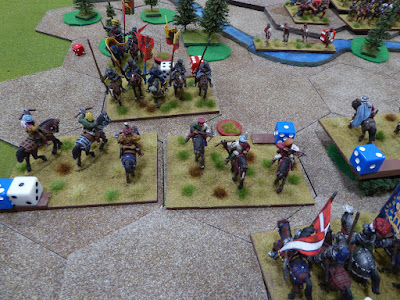
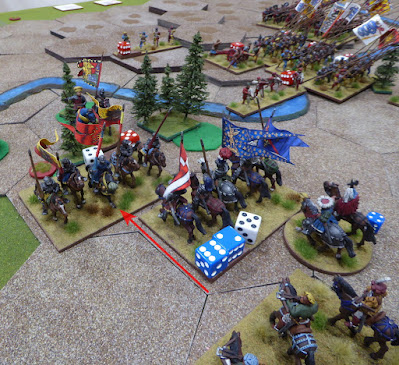
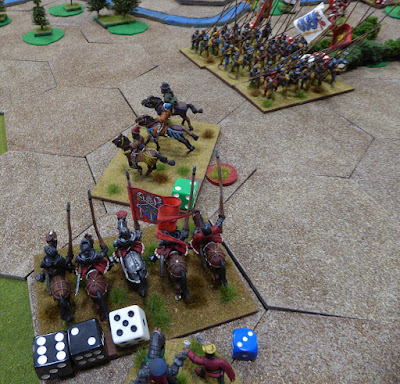
Like the King's heavy cavalry attack against Alviano on the Venetian Right, on the French Right, Chamont leads his Gendarmes against the Venetian Left into an attack on Carpi and his MAA.  In the swirling melee, Carpi and his Italians are driven off with Chamont in pursuit.  Both bodies of Italian heavy cavalry are in retreat!  The security of Alviano's flanks is crumbling.  
Chamont vs Carpi
Carpi is defeated and retreats!
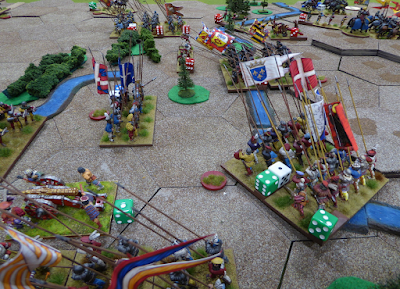
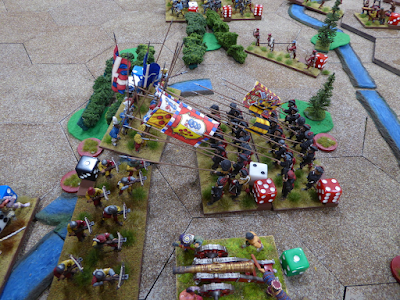
Back in the center, the French victory against Carpi's pike block is short-lived.  Having finally come down from the high ground and crossed the ditch, one of Alviano's own pike blocks smacks into the French pikemen.  While the French suffer heavy losses, they stubbornly maintain their ground.  Alviano's Italians are tossed back into the ditch!  
Italian pike block attacks...
and are repulsed!
French pikemen hold their ground, worse for the wear,
much worse for the wear.
As the rain begins to fall with more determination, and the ground is getting heavy, the third French Battle of Tremoille arrives onto the battlefield.  On the Venetian Left, Carpi is coming under increasing pressure as missile fire is concentrated upon his pike block that remains positioned defending the ditch.  With Italian MAA dispatched and Chamont leading his Gendarmes off to the Italian rear, these pikemen could be in serious jeopardy.      
Tremoille and the rain arrives.
The noose tightens.
To relieve pressure on Carpi, Alviano's Provisionati pike block crosses the ditch and crashes into the remnants of the French pike block.  The French are pushed back to the ditch with the Italians in hot pursuit.  Not only are the French dispatched but an adjacent body of Gascon crossbow are driven back as well.  Immediate results are promising but success is fleeting.  The King's Swiss erupt out of the ditch and drive the Italian pikemen off.
Into the French...
scattering them before they can escape.
Swiss drive off the Italians!
The Venetian Army is wavering from setbacks all across the battlefield.  In rapid succession, the French decisively turn the tide of battle.  First Tremoille's Gendarmes ride down the Venetian light cavalry marauding in the rear.  Then, the King dispatches Alviano's MAA before they can get out of harm's way.  Finally, Chamont's Swiss come up out of the ditch to push the Italians back.  These final acts are just enough to break the Venetian Army. 
Finishing off the renegade light cavalry.
Scattering Alviano's MAA.
Swiss attacking out from the ditch.
Venetian Army ready to break!
This battle is over and Alviano must extract what is left of his army from the battlefield.  

Victory to the French, Mark, Chris, David C.!
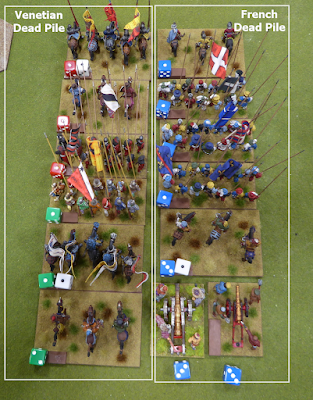
Butcher's Bill
A glance at the Dead Pile shows that in terms of stands lost, casualties were about even.  What really cost the Venetians was the loss of both units of MAA.  Without losing the Venetian heavy cavalry, the battle may have lasted a turn or two more.  Alviano may have actually been able to hold on long enough to run out the clock before Tremoille could get his Battle firmly into the fight.  With rain coming down, getting Tremoille into battle would be no easy task.

Great job guys in a battle well-fought.  Midgame, it looked like the Venetians had a solid chance to overturn the historical result, but it was just not to be.

Very exciting battle to watch unfold.  As the Italian Wars armies are cleared from the table, next time, something completely different will show up for a few games.