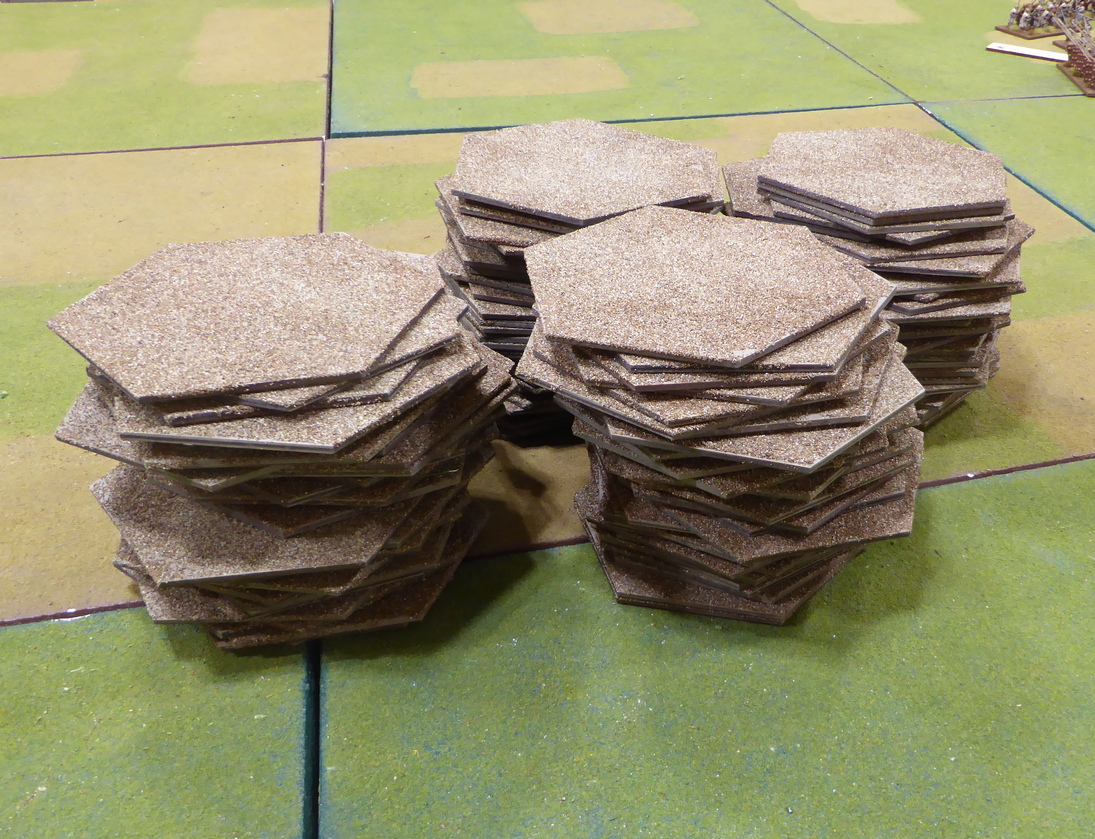
After planning, painting, plotting, and playing, it is time to strike the tent at Bassignana. Time to bid adieu to what has become a friendly and familiar sight on the gaming table. After five battle recreations, the ground will stick in mind for a very long time.
The Battle of Bassignana was one of the catalysts for building a SYW French Army. That building task began at the start of 2022. Enough French (and French dressed as Spanish) were painted to muster troops to complete the OB.
Before clearing the table in preparation for a new battle, I pause to give an account of the fifth and final (for now) battle.
In Game #5, Chris (Horse and Musket Gaming) accepts the role of King Emanuele III to take command of the Piedmontese/Austrian armies. David (Not by Appointment) and Mike (Dieroll Volleys) take command of the French and Spanish contingents.
With the four-game score showing three victories for the Franco-Spanish to one victory for the Piedmontese/Austrians, can Chris overcome a difficult situation in an attempt to pull closer to the Franco-Spanish lead? Let's see.
 |
| Franco-Spanish deployed for crossing the Tanaro River. |
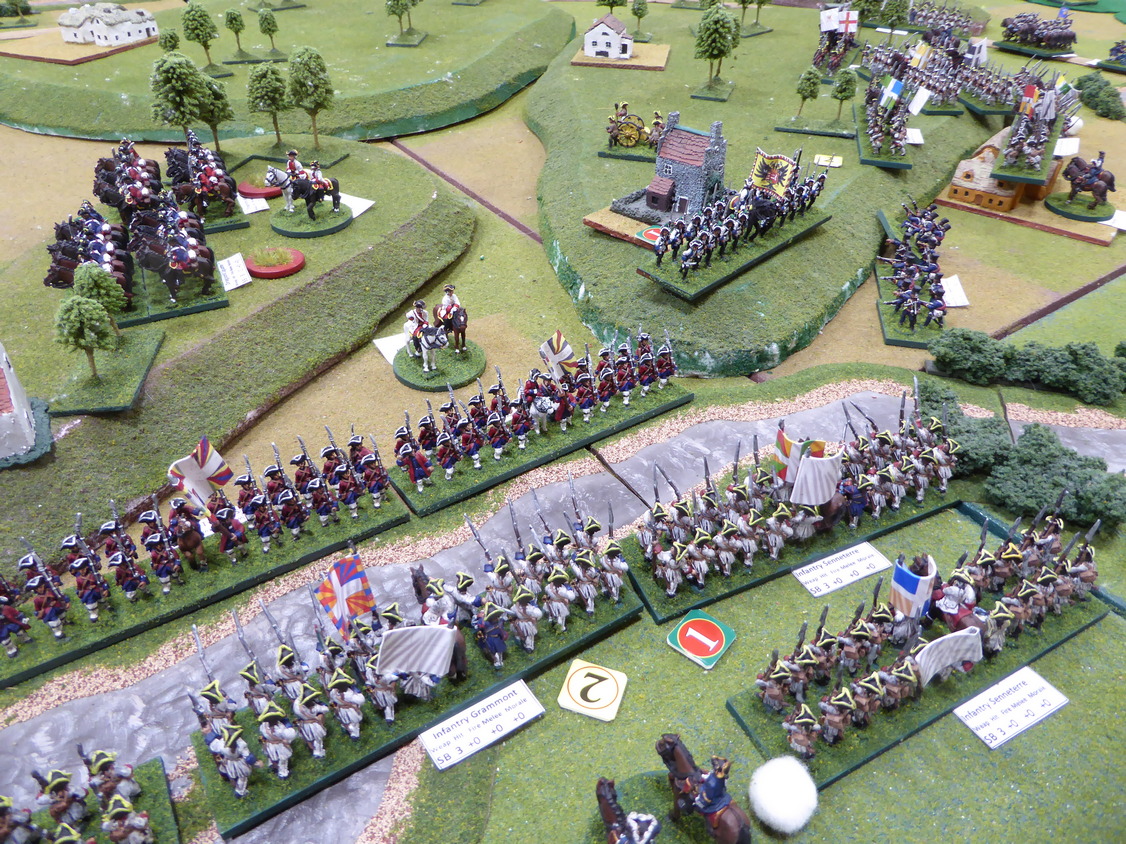
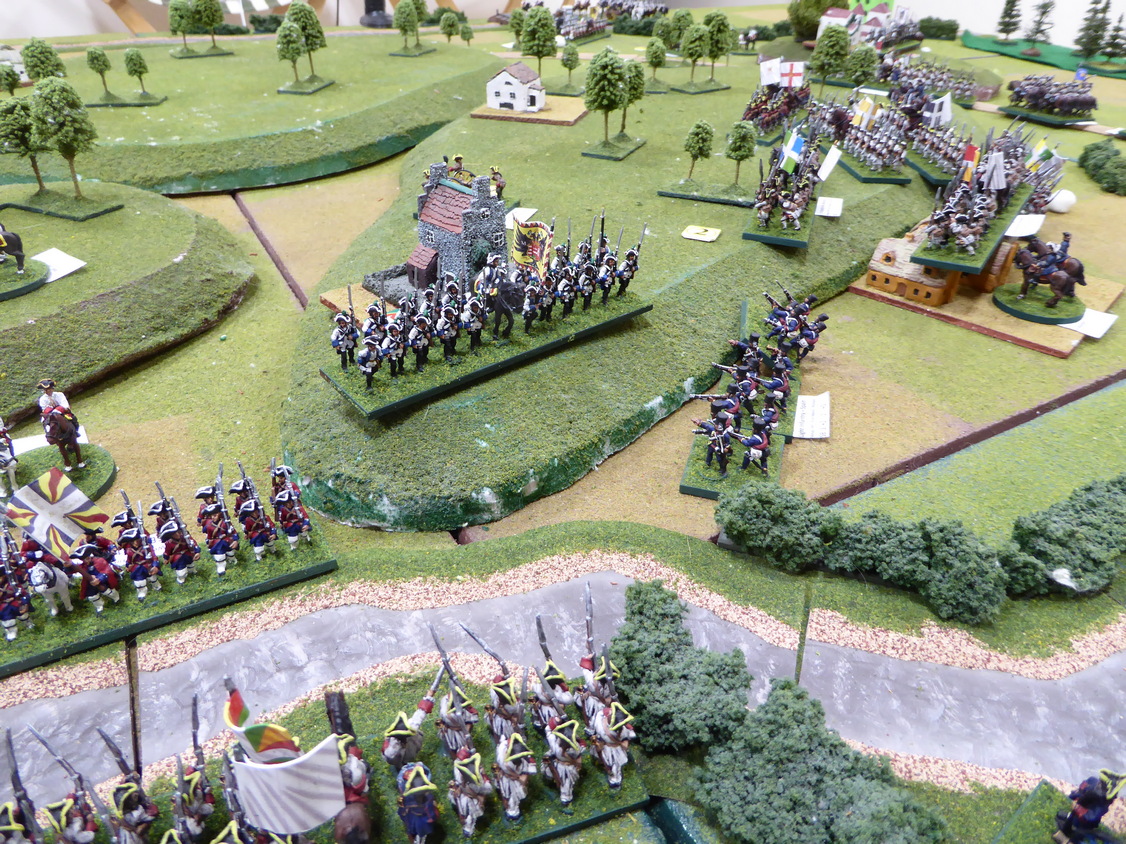
The Franco-Spanish army is poised along the Tanaro River with a goal of cutting King Emanuele's line of retreat to the west. King Emanuele III is positioned along the north bank of the Tanaro in an effort to hold out until reinforcements arrive. For a chance of Austrian reinforcements, the Piedmontese must hold the pontoon bridge across the Po River to the north of Bassignana. Holding Bassignana may be critical. On the King's right flank, his position is anchored by the strongpoints of Chiesa de San Germano and Montecastelle. Holding these strongpoints falls to his best brigade, D'Aix.  |
| D'Aix holds the Piedmontese right. |
 |
| Arambou moves up while taking fire from Rivarone. |
As Maillebois' Franco-Spanish army begins the crossing of the shallow Tanaro, Arambou's lead infantry battalions take fire from the guns at Rivarone. Arambou opens up with his light guns to cover the advance.
With Arambou set on forcing a crossing at the river bend, de la Chiesa sends an infantry battalion from Rivarone to contest the crossing. Moving into position on the north bank, de la Chiesa's infantry battalion takes fire from both guns and muskets. The Piedmontese suffer but remain firm.
As the crossing begins, the Spanish commanders array their infantry in battalions three deep. Can anything stop this Spanish juggernaut?
 |
| Arambou begins the river crossing. |
 |
| Arambou and de Gages mass their infantry. |
Back on the French left, Maillebois orders de Grammont and Senneterre's cavalry to swing around the left flank. With Liguane's Piedmontese dragoons awaiting orders, Piedmontese light infantry pop up along the banks of the river to contest any possible French cavalry crossing. The Piedmontese Guards, quiet on the heights until now, begin the descent down to the river. They too will contest the crossing.  |
As French cavalry approach,
the Piedmontese defense stiffens. |
 |
Firefight erupts near Chiesa de San Germano
as Liguane's dragoons are forced to withdraw. |
 |
| Piedmontese Guard join the firefight. |
 |
| Battle along the Tanaro. |
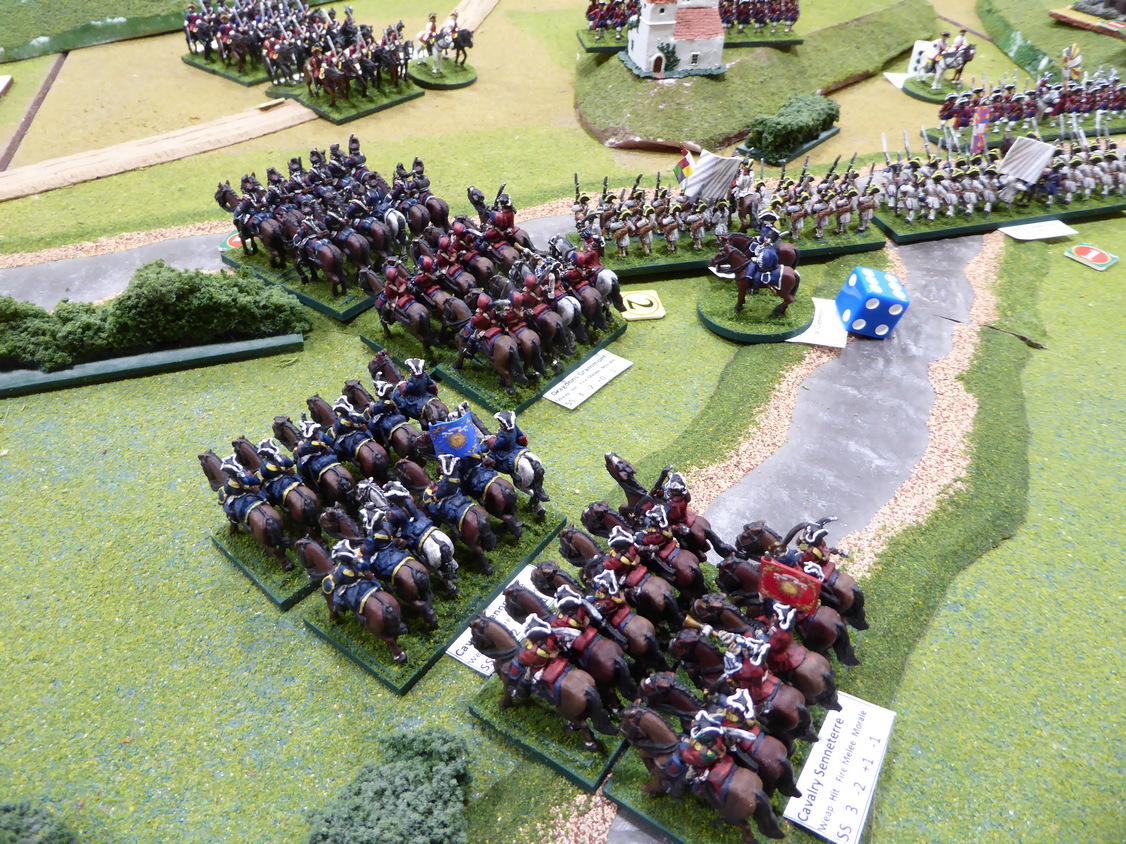
Not dissuaded by the light infantry's harassing fire, de Grammont's cavalry charges across the river scattering the light troops. Senneterre brings his cavalry up to the left of de Grammont in support. Forced to retire from earlier musketry, for now, Liguane's Piedmontese dragoons remain motionless overlooking the combat at the river.  |
| Light infantry dispersed by cavalry. |
Returning to the developing action in the center near Rivarone, Arambou's Brigade remains in a heated exchange wiith de la Chiesa at the river as the Spanish attempt to force a crossing at the bend in the river. Casualties rise as infantry and gun lines blast away at each other. The Piedmontese regulars first waver and then melt away under the pressure from Arambou's attack. De Gages sends two of his infantry battalions across the Tanaro in support of Arambou's success while his cavalry ford the river to the right of the bridge skirting the treeline. |
| Casualties rise in Arambou's firefight. |
 |
de Gages follows up on the
destruction of Piedmontese infantry. |
 |
| de Gages advances across the Tanaro. |
Seeing de la Chiesa's regulars disintegrate to his front, de Gages' supporting attack toward Rivarone presses on as Spanish light infantry cross the Tanaro and harass de la Chiesa's artillery. The momentum from this attack carries the Spanish into the Piedmontese guns. The battery is overrun. |
| Pressure mounts upon the Rivarone salient. |
After a sustained bombardment of Rivarone from de Montal's heavy battery that sees heavy casualties among the defending militia, de Montal launches his assault. As the French infantry approach in serried ranks, the already wavering militia take to flight. Rivarone falls without much of a fight! |
Rivarone falls as de Gages' cavalry
moves to encircle Bassignana. |
With Rivarone cleared of enemy troops and de la Chiesa's brigade broken, Maillebois' French and Spanish advance. The Spanish light infantry, having aided in drivng off the guns at Rivarone, turn their attention to D'Aix's artillery near Montecastelle. Taking harassing fire and seeing Rivarone fall, the guns limber up and move off. French and Spanish infantry scale the heights up onto the lightly wooded plateau. Reaching the crest, no enemy can be seen. Is the battle won?  |
Overview of battlefield situation
as the Piedmontese center falters. |
 |
As French and Spanish infantry climb the heights,
D'Aix's artillery is driven off. |
Having assisted in seeing off D'Aix's artillery, Spanish light infantry press on against Montecastelle. The Montecastelle defenders shrug off the light harassing fire and concentrate their volleys into the French lined up along the Tanaro.
 |
| Spanish light infantry harass Montecastelle. |
To the west of Montecastelle, the Piedmontese grenadiers leave the cover of San Germano and advance down to the Tanaro to take up position alongside the Guard. Volleys intensify as the French infantry arrayed along the south bank of the river take heavy casualties. De Grammont's infantry show signs of wavering. Seeing both Senneterre and de Grammont's cavalry breach the Tanaro. Liguane seeks higher ground to counter French superior numbers. |
| Firefight on the Tanaro below San Germano. |
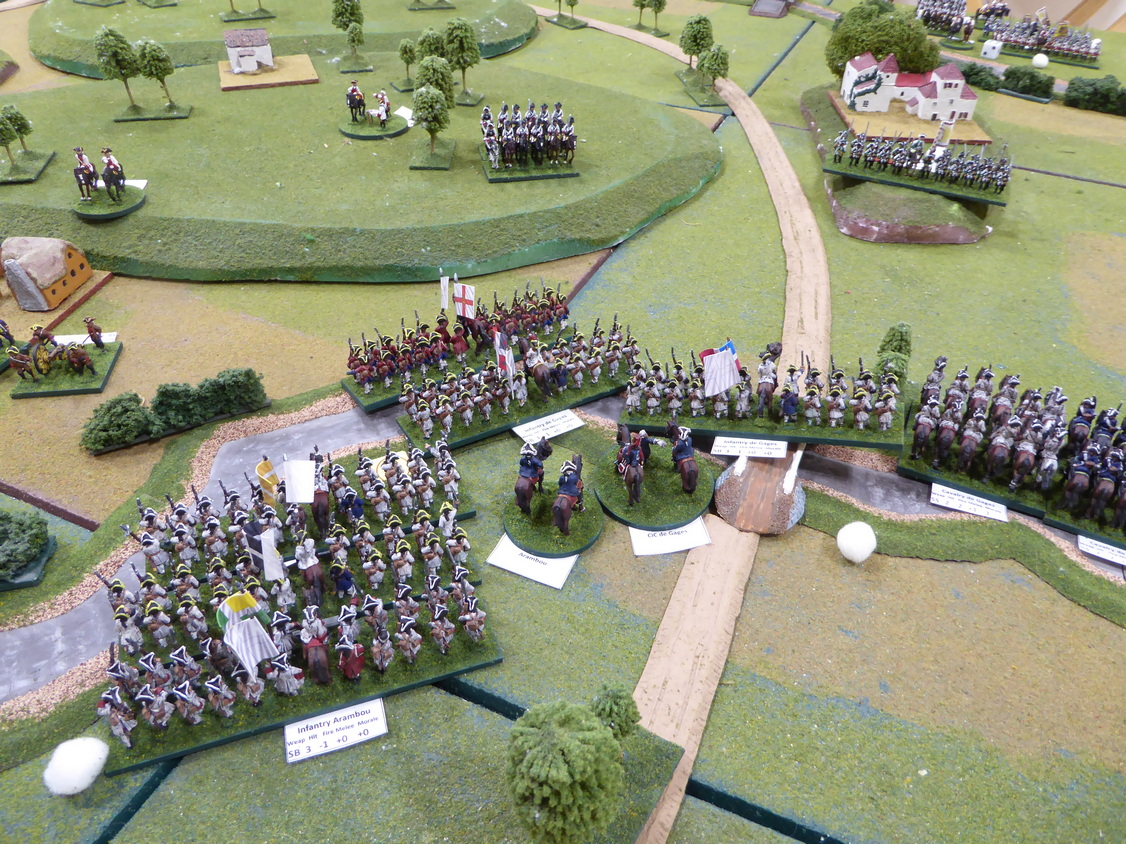
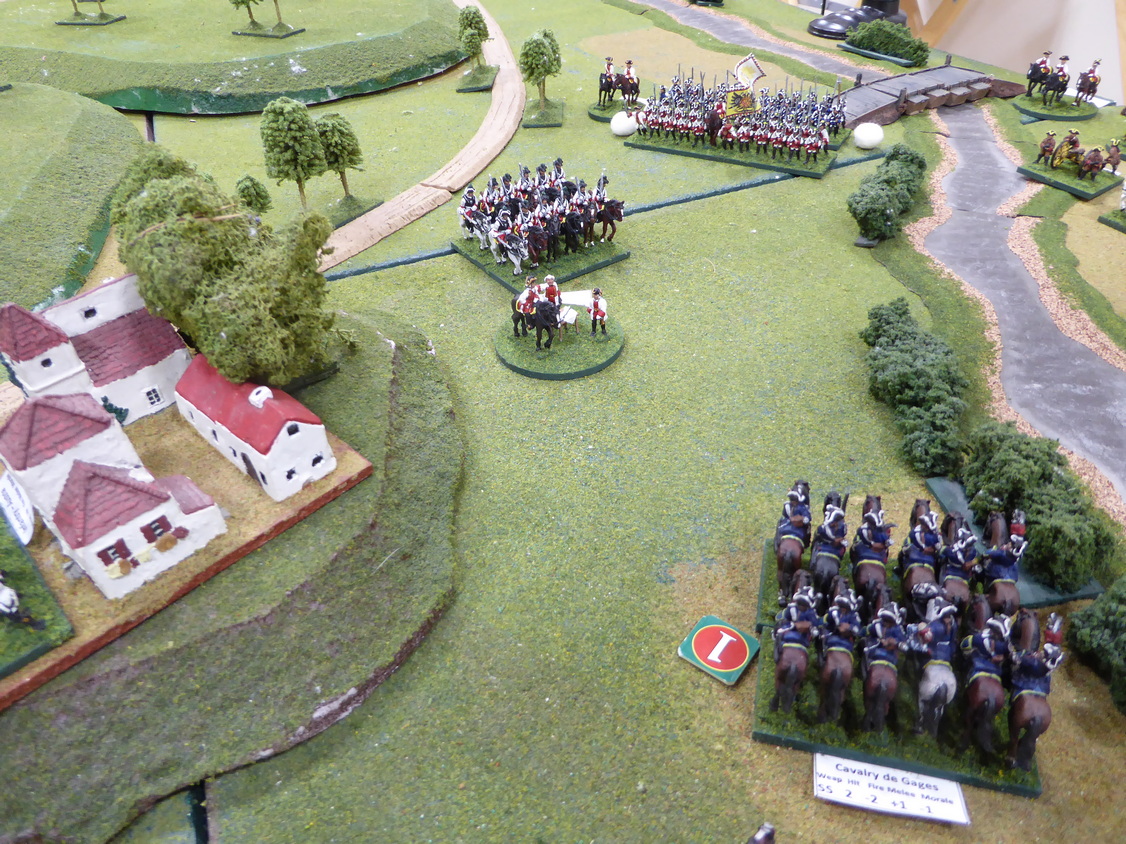
Back on the Bassignana front, having cleared the central heights of enemy, de Gages turns his attention toward the fortified town, itself. With Spanish infantry marching across the high ground, the Piedmontese King orders his cavalry to retire. Not only is the Piedmontese cavalry retiring to stay away from the enemy but it is positioning itself to block Spanish cavalry attempts against the pontoon bridge over the Po.
This foresight by the King is especailly timely since Schulenburg's Austrian infantry are seen marching across the pontoon bridge. To buy the Austrians time, the King leads charges at the enemy cavalry. In a series of charges and countercharges, the cavalry clashes see heavy damage to all. De Gages goes down in the melee!
With Spanish pressing in on Bassignana, the King's actions have momentarily prevented de Gage from capturing the bridge. As Austrian infantry deploy on the south bank of the Po, Austrian cavalry trot across the temporary bridge.
Has the battle turned?
 |
| De Gages' Spanish converge upon Bassignana. |
 |
| King Emanuele blocks the avenue toward the Po bridge. |
 |
| De Gages falls in melee. |
 |
| The Austrians arrive but is it in time? |
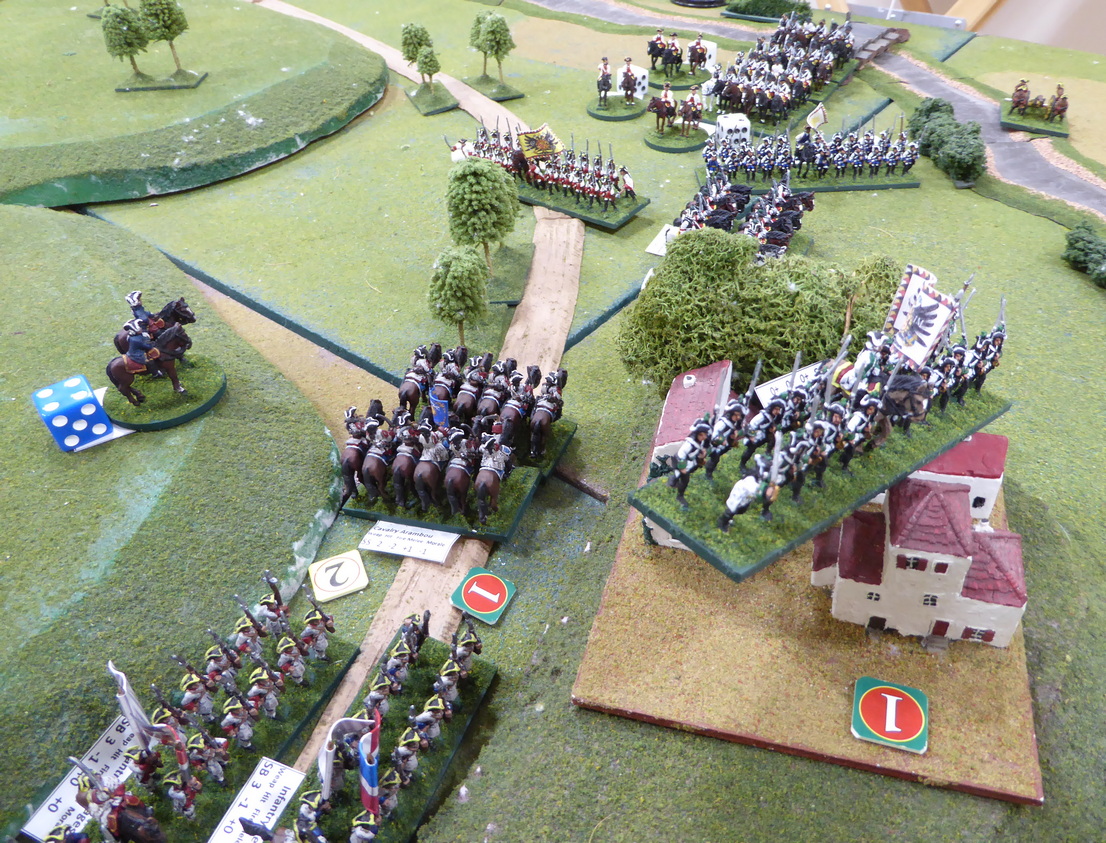
Even with the arrival of Schulenburg, the situation looks bleak for the King. While his grenadiers and guard continue to hold the upper hand in the firefight at San Germano, his army has been split. The enemy is in full control of the central heights and advancing toward the Po. With Liguane bottled up on the high ground behind San Germano, French cavalry have a clear path to cutting the road to the west. The weakened defenders of Bassignana will not hold out long against overwhelming odds. The King accepts his predicament and rides across the Po bridge while Schulenburg and his Austrians cover his escape.  |
Piedmontese grenadiers take lumps out of the French
as French cavalry are poised upon a flank. |
 |
| Firefight across the Tanaro. |
 |
Maillebois controls the central position
and pushes on toward the Po. |
After four hours of play, King Emanuele III concedes the field to the Franco-Spanish army. Following this hard-fought battle, Maillebois has done enough to win a Minor Victory.
Congratulations to the winning generals, David and Mike! Chapeau to Chris for providing an entertaining and spirited defense. Well-played by all!
Having completed seven turns with only eight turns guaranteed, Chris believed that Bassignana would not be relieved in time by a Schulenburg counterattack. In addition to this immediate reckoning, in an extended battle, the Austrians, alone, would be unable to stem the tide of the oncoming French and Spanish as they descended upon the pontoon bridge.
While another victory for the Franco-Spanish army (4-1 in this five game series), another historical result was seen on the miniature battlefield.
Thanks again to all of the players for producing another enjoyable gaming session. For me, this was great fun exploring the Battle of Bassignana in repeated trials on the table with an entertaining assortment of generals and approaches.
After a long engagement on the table, time to strike the tent at Bassignana.
What is next? Who knows? Clearing the table and back to painting for starters.