Showing posts with label To The Strongest!. Show all posts

Wednesday, July 21, 2021

Rome v Carthage - To the Strongest!

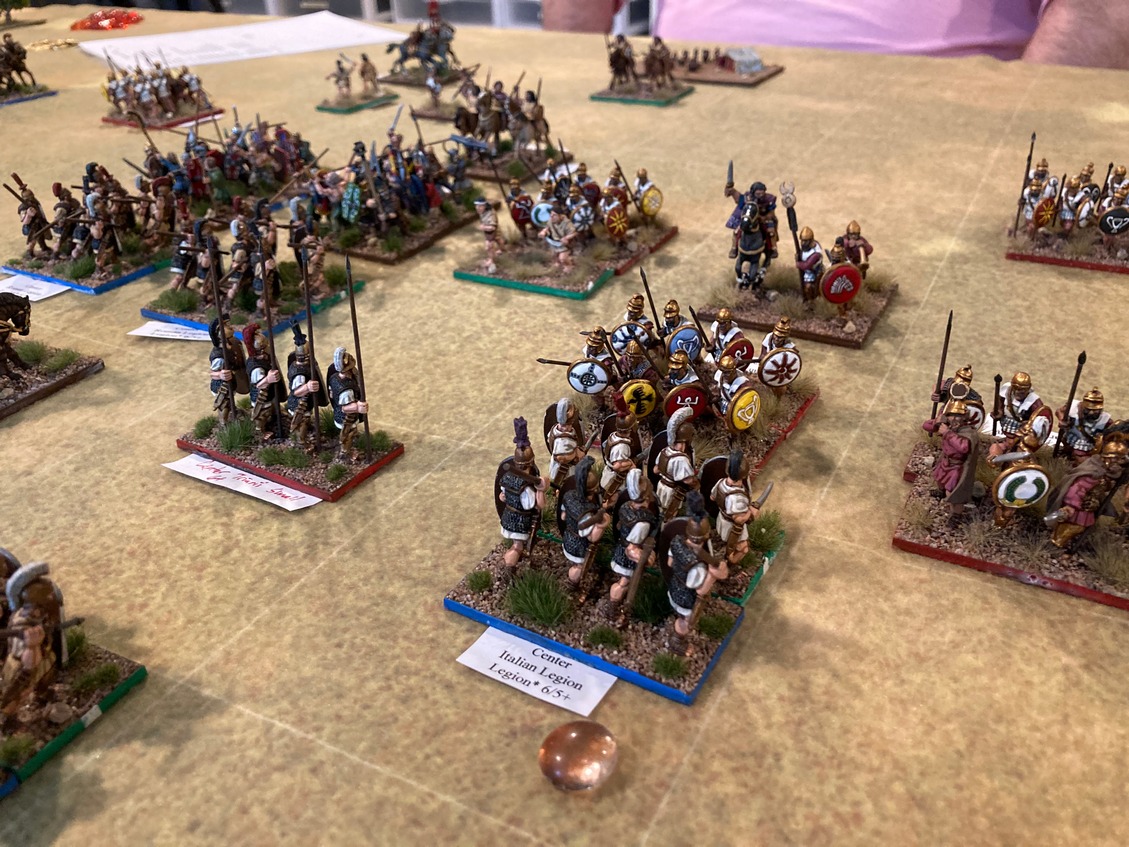
Two weeks ago, Kevin and I reconvened at Scott's to refight a Second Punic War battle fought the month before.  In that first match, Rome defeated Carthage handily.  Kevin, as the Carthaginian general figured his outnumbering army ought to be able to defeat the smaller, Roman army on the field.  To test his theory, Kevin took command of the Carthaginians in an encore presentation while I returned to my role as the Roman general.  The Carthaginian Army being larger must lose 12 tokens before the army breaks.  The smaller Roman Army may only lose 9 tokens before breaking. 

Let's see how the battle played out. 
Kevin surveys his Carthaginian Army
Carthage moves first and the army advances
The Roman legion in the center advances
 to meet the enemy
The Carthaginians advance all across the battlefield
Rome attempts to outflank the Carthaginian right
 but is broken in the process.
A broken wing can no longer attack... 
The Roman right attempts to turn
the Carthaginian battleline. 
Heavy fighting in the center as the two armies collide.
Casualties are heavy but the Romans hold on.
Whoa-ho!  The Roman cavalry commander, on the left wing,
 seizes the unoccupied enemy camp!
That, despite not being able to attack.
Ground is gained as stands disperse.
With several successful 2-to-1 attacks,
the Carthaginian Army breaks 
Well! Carthage falls to defeat a second time with a score of 12 tokens to 5.  Another fun came with non-stop action throughout.  Always a pleasure pushing Scott’s beautiful troops across the table.  Early on, the Romans were very unlucky to lose their left cavalry wing at the hands of lowly Numidian cavalry.  Embarrassing.  The Roman cavalry general saved his reputation by fighting a cagey battle of maneuver to capture the Carthaginian camp.  I think that in itself yielded either three or four tokens and honors for the day.

In the final throes of battle, the Romans managed to maneuver into position to attack the enemy from both front and flank destroying their opposition.  Not once but twice!

Kevin thought the battle could have gone the other way.  Maybe next time?

Sunday, June 13, 2021

To the Strongest! F2F Punic Wars

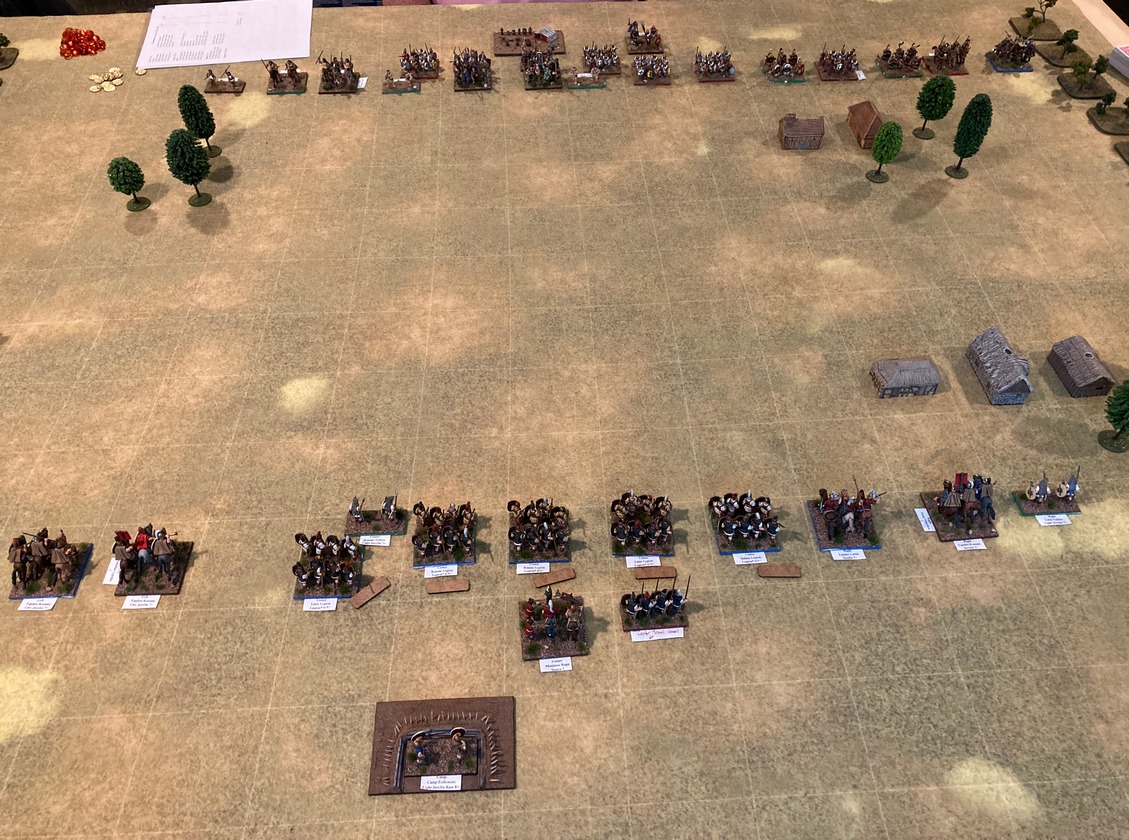
After more than a year hiatus, Scott hosted a game in his Game Room on Saturday!  Yes, there was much rejoicing.  When Kevin and I arrived from our interstate journey, we were greeted by the battle sight shown below:
Now, it has been a very long time since we last played To the Strongest! so a bit of a learning curve was expected.  The battle set out was a hypothetical contest in which the point totals were nearly equal.  The Carthaginians had an advantage in number of units so the Romans would be required to earn 12 Tokens for victory whereas the Carthaginians needed only 9 Tokens to claim a win.  Kevin chose the Carthaginians.  Carthaginians move first.

From the starting gun, the Carthaginians began working the flanks while pressing forward in the center.  Actually, pressing the flanks is a bit of a misinterpretation since the Carganinian right wing moved off to take the center almost immediately.
With the Carthaginian right wing quickly moving off toward the center, their right seemed open for possible exploitation once these troops got stuck in among the troops vying for control of the center.  Something to keep in mind for the mid-game.
As both lines closed, the center became a large shoving match as the more nimble Roman Legions tried to out-muscle the larger Gallic hordes.  Both sides began taking casualties.  Note that the Roman Hastati and Princepes have the option to line-swap when needed. 
Fighting is hard in the center but notice that the Roman cavalry (in the background) is beginning to outflank the Carthaginian army.  The Carthaginian camp is under threat of attack.  Quickly the Carthaginians respond by sending their light troops back to protect the camp. 
Grinding in the center continues while Roman cavalry on the Roman right attempts to outflank the Carthaginian left.  A lot of move and counter-move activities while each jockeys for position.  The Carthaginian cavalry is pushed back and nearly forced off-table.
Control for the center continues.  The Romans in the left-center have gotten themselves into a position to launch coordinated attacks against one of the large Gallic hordes.  Horde #1 is scattered!
While the initial attack upon the Carthaginian camp was repulsed by a well-timed occupation of the camp by Numidians, Gallic Horde #2 is attacked from the flank by cavalry.  Carthaginians on the right-center have turned in to threaten the Romans.  Casualties are accruing everywhere.
In the center, The Roman CinC slips by an advancing enemy to attack Carthaginian spearmen in the flank.  Can this cavalry defeat the spearmen before they, themselves, can destroy the legion they face?
Yes, they do!  In addition to the slaughter in the center, Roman cavalry occupies the enemy camp.  The Romans win 12 Tokens to 4.  Hooray! 
That was a good fight!  Fun too!

While we were all out of practice with the rules, the mechanisms came back relatively quickly especially with Scott's quick adjudications and rulings.  By mid-game, the outcome could have tipped either way.  In retrospect, the Carthaginian movement into the center with the right wing was crucial to Roman victory.  Abandoning the right allowed a Roman strike toward the camp.  Once the danger was apparent, it became a footrace to see who would occupy the position first.  Worth four tokens, this was definitely a high priority target especially for an objective left so wide open.  Having to return to defend the camp cost the Carthaginians valuable time and resources.  In the end, the camp was lost and the Carthaginian army destroyed.

This would be an interesting battle to refight.  Kevin and I departed in the evening satisfied with an enjoyable day of gaming and well-fed.  Always a pleasure to push Scott's beautiful troops across the battlefield and spend the day in the company of good friends.

Thursday, May 2, 2019

Maisnon- Italian Wars BatRep 4

Once more to the battlefield of Maisnon!  In this clash, I face off against Kevin but on the opposite side of the table.  In this battle, I fight as Charles V against Francois I.  Rules in use: To The Strongest!.

The battle opens with a familiar sight of the two armies deployed as shown below.  In the role of Charles V, battlefield photos will be from the perspective of Charles V taken from behind the Imperial battle line.  The battlefield constrained by woods on both flanks and a river, the battle plans remain much the same as before.  That is, frontal assaults will be the means for breaking the opposition.  Not much room for tactical trickery or finesse.  Brute force and a lot of luck will likely win the day. 
The two armies advance
Both armies push their troops forward quickly to come to grips with their foe.  As the distance closes, missile fire begins.  At this range, casualties are few and the armies plod forward.
Distance between the armies contracts
Charles, acting impetuously, pushes his right forward so quickly the gun on the hill has its fire blocked by its own troops almost straightaway.  Did it even manage more than a single shot?  I think not.  Charles nullifies one of his advantages in this battle right from the start.  While the cavalry on the Spanish left is slow to move up, the Spanish light cavalry on the right, quickly engages the French mounted crossbow to drive them off.  
Early stage of the battle
As the massive pike blocks in the center of the battlefield lumber forward, the first clash of heavy cavalry is witnessed on the Spanish left.  The German Men-at-Arms crash into the French Gendarmes.  The clash can be heard above the din of battle. 
The heavy cavalry clash
While the Germans and Gendarmes are locked into a continuing melee, Francois pushes his mounted arquebusiers and a second group of Gendarmes into the gap between the cavalry melee and his advancing pike formations. 
Reserve cavalry move up to plug a gap
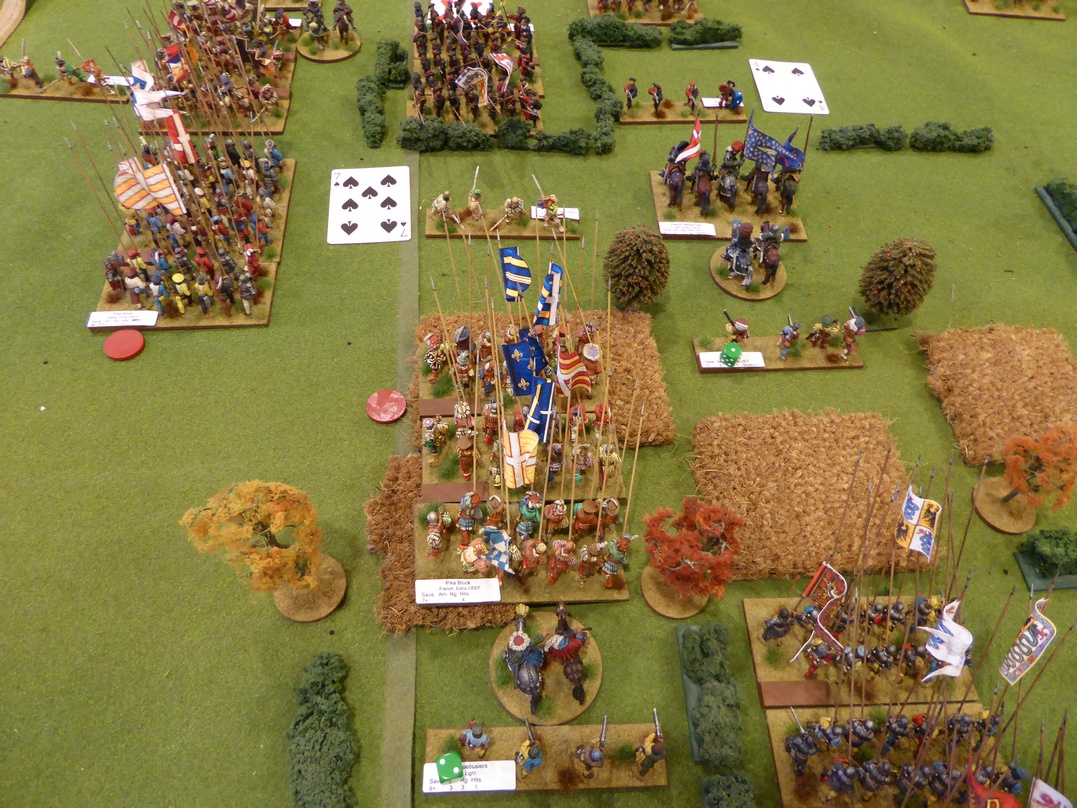
Pushing the mounted arquebusiers out in front to screen the Gendarmes from artillery bombardment, the Gendarmes wheel to bring themselves onto the flank of the German Men-at-Arms.  In the center, Zweihanders advance out of the Imperial pike block and begin hacking the ends off of pikes to whittle down the enemy's resolve.  Along the river, crossbow and arquebus units trade volleys.  The only noticeable effect is that firing quickly subsides as all units begin running low on ammo.  Very little damage sustained from these firefights.    
German's flank is exposed
View down the length of battle line
The Imperial Zweihanders, having softened up the pike block to their front, retire to allow their own pikemen to attack.  The attack goes in but both maintain their position locked in combat.  Having maneuvered themselves into a flanking position on the Men-at-Arms, French Gendarmes hit the Germans in flank.
Men-at-Arms flanked!
Battle view from east
With two against one in the cavalry melee, the Germans fall back in disorder escaping with their lives.  The Gendarmes to their front follow up to take the vacated ground.  In the pike scrum, the Swiss have had enough and make the best of a lull in activity to withdraw from the engagement.  Having suffered three hits, they are likely done for the day.  The Swiss' task now is to keep from being scattered by a pursuit. 
There is no such respite for the German Men-at-Arms.  Maintaining pressure on the disordered Germans, the French Gendarmes charge once again.  This time, the Germans are scattered.  Back in the center of the battlefield, two of the three opposing pike blocks are engaged in a heated contest of push of pike. Gaining an upper hand is difficult as combat in these close quarters is stymied by numerous misses and successful saves.
Clash of pike in the center
Finally, the to-and-fro log-jam in the pike clashes breaks and the Spanish destroy two of the three French pike blocks in rapid succession.  Added to the light troops lost earlier in the engagement, the French Army reaches its Break Point and hands over the last Victory Medal.  Victory to Charles V!  
French pike blocks destroyed
While the Spanish claimed victory in this edition of the battle, it was a near run thing.  Victory could have fallen either way up until the last card.  With each army holding 11 Victory Medals, the first to lose two pike blocks (4 VMs each) would likely see defeat.  That is what happened in this contest.

Of the battles before, Game 4 seemed to produce the most plausible clash of man and horse in a battle staged during the Italian Wars.  The game actually took on the look and feel of a Renaissance battle in my mind.  Of particular note was the lengthy pike scrums as neither could gain an advantage.  The attacker repeatedly drew misses while the defender repeatedly saved those few hits drawn.  A lot of drama and anticipation in what the next card may hold.  It was good fun that saw a decisive conclusion fought in about 90 minutes.

With a half-dozen battles fought using TtS!, play in the last two games has been conducted almost exclusively using a QRS as reference.  In this battle, I do not recall needing to take a time-out to thumb though the rule book at all.  Notice in a few of the photos, the QRS is shown in the photo.  The QRS has been condensed into one 5x7 inch, two-sided card.

Wednesday, April 17, 2019

Maisnon - Italian Wars BatRep 3

After two Battles of Maisnon using To the Strongest! and one victory apiece for each of the protagonists, the battle was reconvened a few days later for a rematch.  With the rules and scenario still fresh in mind, the forces were redeployed and the game readied.  Jake remained in command of the army of Charles V while I commanded the army of Francois I.

Francois draws first Player and sets to work advancing the French army to engage the army of Charles V.  The French advance begins across the breadth of their battle line.  The Imperials, under the eye of Charles V, push the deeply ranked arquebusiers ahead of their main line.
French army advances in foreground
The three French pike blocks
Arquebus and crossbows from both sides exchange fire in a series of continuing volleys.  At first, few casualties are suffered as successful saving cards seem all too common.  Francois' center pike block pushes forward and soon outpaces its supporting pikes as the distance to its opposition closes.  With each block preceded by light infantry formations, these light infantry must be brushed aside before the main action can commence.
French pikemen
In the opening stages of the battle, the two Imperial guns, so deadly in the first game find pinpointing the range difficult.  The guns' accuracy likely is hindered by the French ability to screen their vulnerable, deep pike blocks.  French crossbowmen and arquebusiers maintain a harassing fire against their opposition.   
Looking down the battle lines.
(French on left, Spanish on right)
Not to be caught flatfooted, Charles orders his army forward to meet the attackers.  Charles does not advance too fast in order to keep his guns firing as long as possible before their targets become obscured.  Francois maintains a brisk pace in crossing the beaten zone of the Imperial guns. 
Imperial pikes advance
Imperial Men-at-Arms advance on the Imperial left
French heavy infantry continues the advance
After watching the infantry advance on the French left, the French cavalry on the right flank finally step off towards the enemy.  The cavalry have much ground to cover.  Bringing the French cavalry into contact against the Imperial cavalry will take time. 
French cavalry on the right advance
With the Imperials pushing forward a unit of Zweihanders in the center, the French Gendarmes are compelled to respond.  The aggressive Zweihanders are inflicting casualties on the French light infantry and must be stopped.  
Gendarmes attack the Zweihanders
As the heavy horsemen barrel into the swordsmen, the Zweihanders fail to make good their escape and are cut down by the elite French Genadarmes.
Zweihanders cut down by Genadarmes
While one unit of Gendarmes is taking care to clear out the Imperial center of light troops, the remainder of the French right wing charges into the waiting Imperial cavalry.
French cavalry charge into the Imperial left
The Spanish jinettes are forced to scatter while the French heavies contact the German MAAs.  In the following clash, the French Gendarmes suffer more than the Germans.  The Gendarmes fall back.
Cavalry clash on the French right
On the French left, two pike blocks crash into one another.  Weakened by arquebus and cannon fire beforehand, the French pikemen are scattered by the Imperial pike block. 
Push of pike
With a flank opened, the French need time to adjust.  A loss of two out of three pike blocks for either side likely spells defeat.  No time for repositioning is forthcoming, though.  The center Imperial pike block crashes into the central French block.  Seeing the tide turning against him, Francois pushes his final pike block into the fray.  While the third French pike engages and ties down the block to its front, it is too late.  A second French pike block is destroyed.  
Battle for control of the center
Two French pike blocks, gone!
Having defeated two French pike blocks and enough light troops to force the French army to its breaking point, Francois abandons the attack.  The French have been defeated and will be unable to send relief to their countrymen, this time.
Charles V victorious
That was a close contest and an enjoyable evening game.  Congratulations to Jake for his determined victory.  

The game lasted longer than the previous two contests due primarily to the length of each of the pike melees.  Each of these pike scrums battled back and forth over several turns with neither player able to exact the deciding blow.  Misses were plenty as were saves.

Witnessing a seemingly, above average number of Aces pulled on initial brigade activations in the previous two games, we implemented Peter's suggestion of redrawing an initial brigade activation failure.  While we had not tallied the number of initial activation Aces drawn in the first two contests, the number seemed large.  In this battle, we counted initial brigade activation failures.  The count was twelve.  Twelve!  Included in that lot were two double Ace draws.  Fortunately, brigade failures seemed to be evenly distributed between the two players.  This change worked well and allowed the game to move along with continuity.  This is a change we will likely keep.  

The Battle of Maisnon will see one more action before the troops retire back to their storage boxes.