|
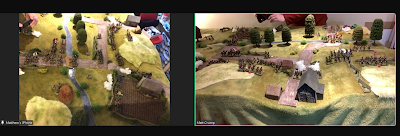
| photo courtesy wargamesinthedungeon |
Picking up the long-running AWI campaign finds the campaign in 1777 and at the Battle of Freeman's Farm. Long-running campaign, indeed! Looking back into the archives, I discover that Matt and I have been fighting our way through the AWI since 2021! Incredible, and we are only up to 1777!
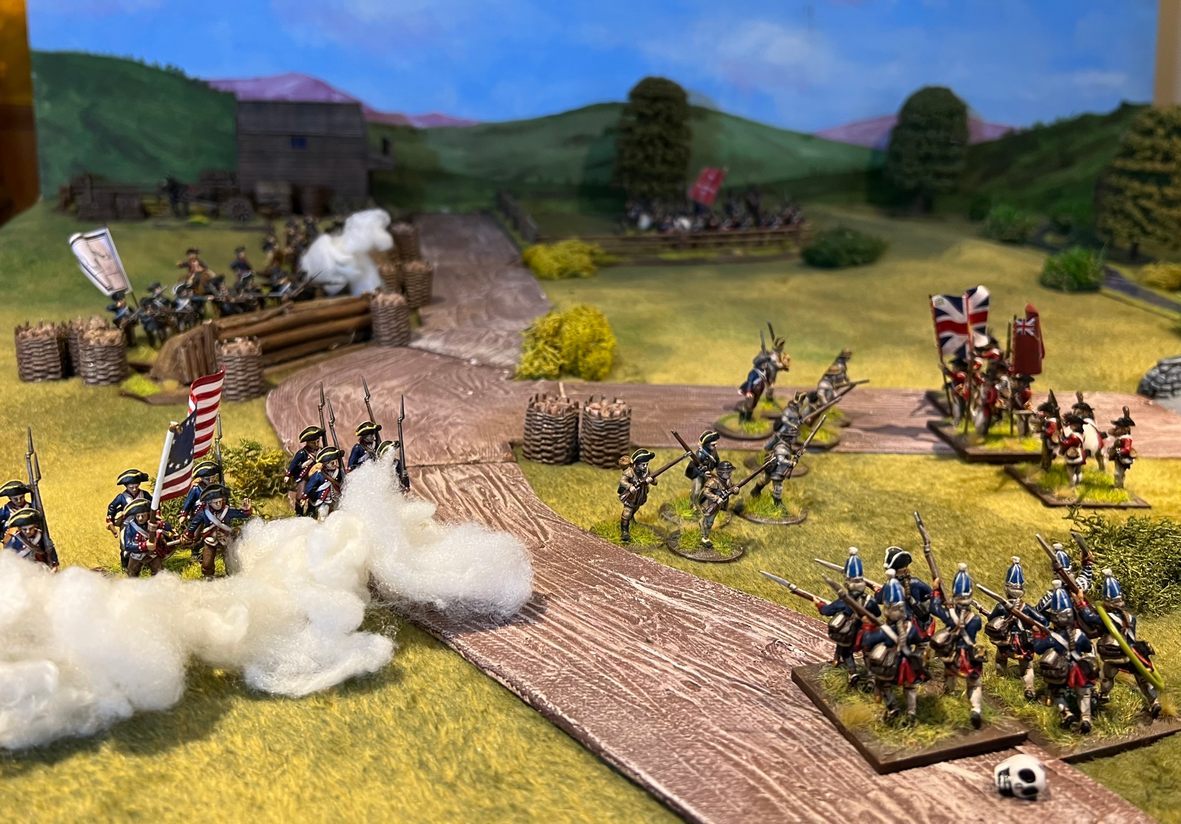
Wednesday's action saw the combatants meeting on the fields of Freeman's Farm. As always, I commanded the American Army and Matt took the helm of the British Army. This is a large battle and Matt laid out a beautiful spread across the breadth and length of his 8'x5' table.

 |
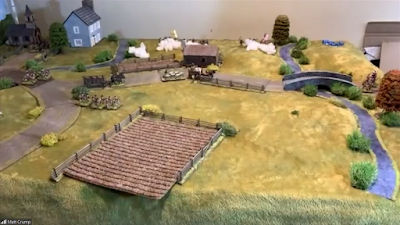
| American traffic jam! photo courtesy wargamesinthedungeon |
 |
| Poor comes up... photo courtesy wargamesinthedungeon |
 |
| and goes back! photo courtesy wargamesinthedungeon |
How did the battle ultimately turn out for the Americans? This is a tale best told by the victors! One for the history books, no doubt. Farming with Matt? Well, many Americans were planted on this bloody field.
Great game and great fun! Thanks, Matt, for a most enjoyable session!
See Matt's battle account at Freeman's Farm 1777.