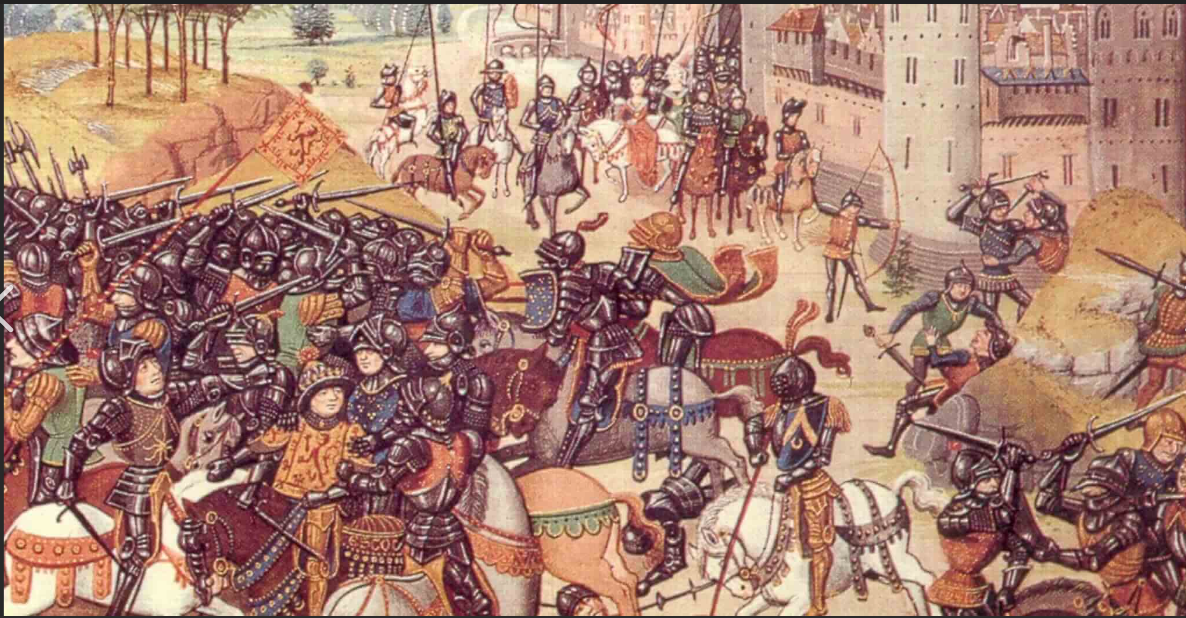
Two weeks ago, Richard hosted a hybrid game in which half of the participants were in his game room and the other half were joining in remotely. The battle under consideration on this day was the 1346 Battle of Neville's Cross.
Before game day, Richard assigned overall commanders. I would play the role of Robert, positioned with the King, in the Scottish army. Each commander received a battle briefing and I assume a battle sketch map. My briefing suggested that,
Your scouts have produced the following map. The Scots have been camped in the Prince Bishop's manor park of Beaurepaire, or Bearpark, from where they have been collecting payments in return for agreeing not to plunder surrounding towns and villages. The English have appeared from the south and face them across a fairly narrow ridge with steep scarps on both sides.
The previous day, Scottish scouts were surprised to come across the vanguard of the English army and were beaten off with significant casualties. This was a shock to the young Scottish King, but the army facing him is smaller than is own and is made up from those King Edward left behind when he sailed for France.
 |
| Neville's Cross map courtesy and copyright Richard Lindley |
Gentlemen,
I suggest we allow the English to advance upon our positions. We can attack after the enemy has been softened and constrained by the narrowness of the ridge.
With that, the Battles deployed behind the hedge offer up a steady missile fire upon approaching English while Steward advances cautiously toward the narrow ridgeline while keeping his left secured to the scarp. Once lead elements of English reach the narrow ridge and attempt to emerge, Steward should attack vigorously. Moray and Robert will follow-up in support to drive the English from the field.
If only two of the three English battles remain in the fields to our front, then expect treachery against our right. If all three dare not oblige by moving toward our positions via the plateau then a defensive battle must be fought. In this case, Moray to move to his right taking up position in the hedge along the road to cover the road and discourage attacks against our right. Be vigilant of the possibility of flanking maneuver against our right from the road on the escarpment. Robert and Steward to take up defensive positions behind the hedge and wait for the English. Attack if numbers are favorable.
 |
| Chris dressed in his finest for the occasion. He commands the Scottish right. |
 |
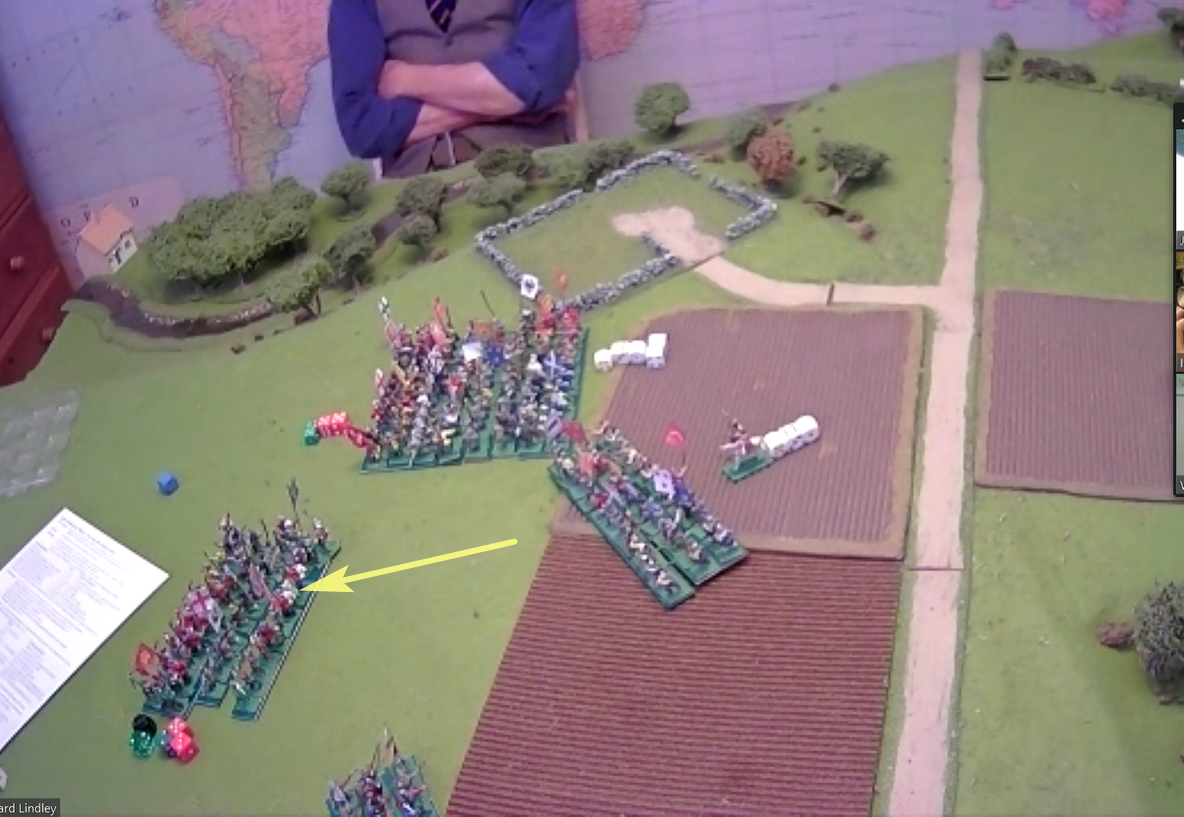
| The two armies begin the advance. |
 |
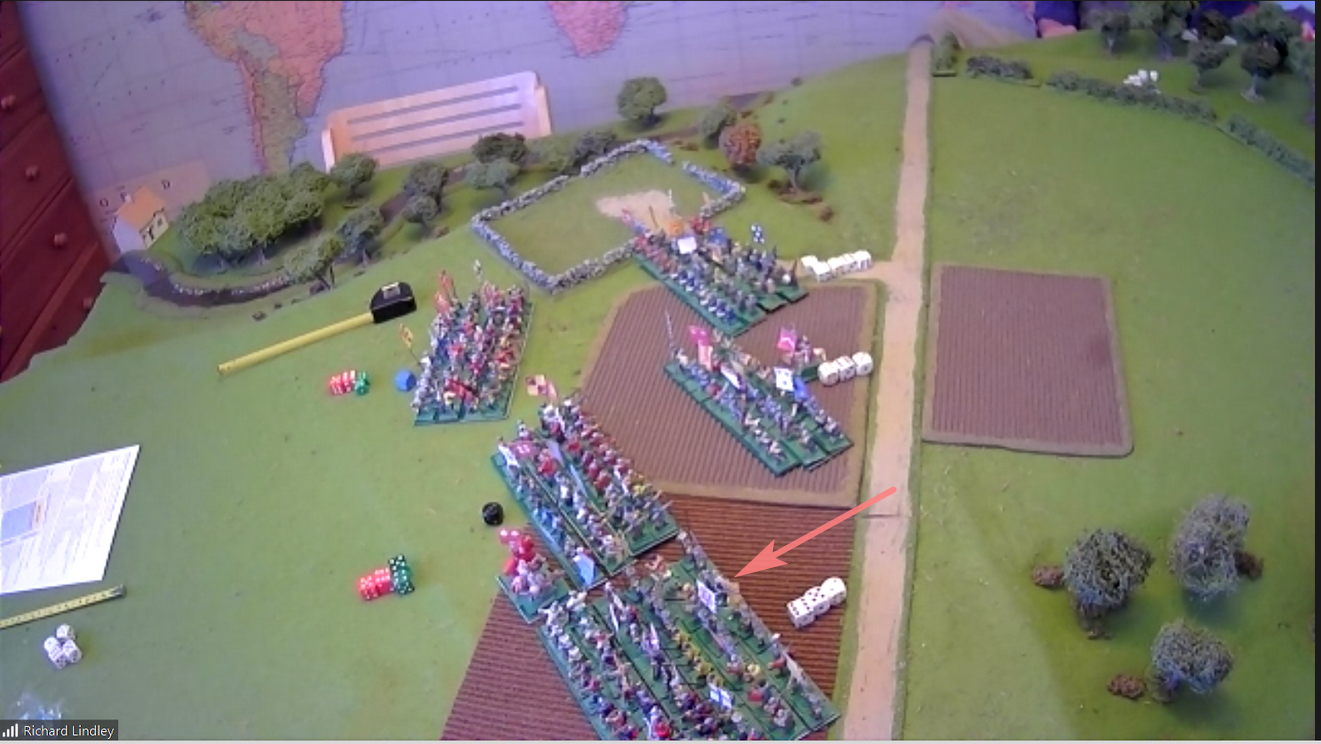
| Steward, on the Scottish left, pushes forward as the English quickly move up along the narrow plateau. Steward's good shooting softens up his adversary. |
 |
| Steward continues pushing forward to close range. He is determined to carry out the orders as given. Forwards! |
 |
| Robert moves up in the center and begins to harass York with missile fire. |
 |
| Rather than being shot to pieces by Steward's devasting fire, Neville charges in. |
 |
| Neville's archers rout and his battle line recoils. Hooray! |
 |
| Neville breaks and heads for the rear. |
 |
| Steward is in hot pursuit. |
 |
| Seeing the English break in front of Steward, Robert charges in against York. |
 |
| Robert and York battle back and forth trying to gain an upper hand. |
 |
| Finally, York has had enough. His Battle breaks for the rear. The battle is over. |
I live nine miles from the actual battlefield and the only way anyone knows is a small broken stone cross. The victory over the murderous Scots was attributed to the banner of Saint Cuthbert. Personally I put it down to my ancestors. They suffered terribly from Scottish raids and unlike the portrayal in Braveheart the jocks were as bad as the English. Bearpark was a hunting lodge for the Prince Bishop who had overall rule of the region, being allowed to make laws, raise taxes and lead war hosts. The Scots king was killed while hiding under a small bridge near the main field. The Scots kings didnt have much luck when invading the North, after the Battle of Flodden the king was laid to rest on the alter of a small church built by the ancestors of a close friend of mine.Lovely battle, shame about the result.
ReplyDeleteFascinating local, on-the-ground history, Robbie. Thank you! While the English were heavily favored to win in the game, my Scots prevailed. I enjoyed the result!
DeleteAn excellent battle report, Jon.
ReplyDeleteI have to correct you though - I am only wearing my second-best wargaming waistcoat. 🙂
Regards, Chris.
Thanks! A bit too brief, I believe, but acceptable given current constraints.
DeleteOn your wargaming waistcoat, I stand corrected. Not having one myself, I do not have a discerning eye for such things.
Good looking game, if unfortunate and unhistorical result!
ReplyDeleteBest Iain
Richard gets all marks for the look of the game. I am only viewing and relaying the account from 4,500 miles away.
DeleteAs for the outcome, well, I enjoyed it!
So did I Jon....can't see anything unfortunate in this at all, it's like calling Bannickburn unfortunate! 😍
DeleteGood!
DeleteTo be honest I haven't got a dog in this fight but I'm definitely not a big fan of Robert the Bruce, the lepar king, I mean he was born in Tottenham for starters!
DeleteBest Iain
A great looking game, a bit of a shame with the result. Being a northerner I enjoyed our little historical forays against the Scots
ReplyDeleteGlad you liked the battle, Neil. Based upon a small sample, there seems not much love for the Scots...
DeleteNice initiative from the Scots which seems like it threw the English off balance, even if it could have gone horribly wrong. Abandoning that hedge line was a brave move.
ReplyDeleteWell, abandoning the hedge was not in Robert's plan. Robert was trumped by the King who ordered the Scots out of their defensive position and take the fight to the English.
DeleteAn interesting game and good looking tabletop. What rules were used, there seems to be lines of dice behind the troops?
ReplyDeleteHi Peter! The rules in use are Richard's own Medieval rules entitled, "Battle Commander." The line of dice tracks current strength for each Melee Line. Each Battle typically has three Melee Lines.
DeleteGreat looking terrain and figures. Outstanding game. As I know nothing about the period I cannot comment on the outcome.
ReplyDeleteMark, since I led the Scots, I thought the outcome brilliant!
DeleteGreat looking game, nice write up. Jon, the progression in the aar was informative and interesting.
ReplyDeleteRichard sets a handsome table. Glad you enjoyed the battle report. It was more brief than usual with captioned photos only.
DeleteReally love to see medieval stuff!
ReplyDeleteFirst class battle!
Great! Hopefully more Medievals soon.
DeleteHooray! As a Scot, it's generally a welcome sight to see the historical outcome of a battle with the English reversed! There have been a few notable exceptions, but on about ninety per cent of occasions, they have given us a hiding!
ReplyDeleteReversing the historical outcome of battle is always satisfying especially when the deck is stacked against you.
DeleteAn excellent looking bash of steel. Great to see history reversed.
ReplyDeleteThanks, Ray! Postie’s latest Medieval clash looked superb.
DeleteA nice looking little battle, I guess this period works best in larger battles ? When you have large blocks crashing into each other with fairly limited tactical options . But it seems to have worked 👍
ReplyDeleteHi Matt, three Battles per side seems the standard deployment. While it may look small, one Battle (really one BMU) per person works well especially for a remote game. There are a number of tactical decisions each commander can make with respect to each of his three melee lines.
DeleteYour right in that large blocks spend most of their time crashing into one another but it does work and each player stays engaged with not much downtime.
That’s a fun set up for a half remote game. It’s usually interesting when the prebattle plan goes up in smoke right away. 😀
ReplyDeleteYeah, it was fun and works well for the host since the onsite players can move the troops. My plan did not make it out of Turn 1 intact. I said, "Robert will remain behind the hedge; no move." Richard (the GM) says, "Nope! You are overridden by the King. You advance over the hedge."
DeleteSplendid stuff, short sharp actions are ones that are well remember in my experience, that might be because I am usually on the receiving end😂
ReplyDeletePhil, this was a sharp short action, no doubt. Luckily, the Scots struck first and the Scottish left hit hard, fast, and repeatedly.
DeleteTim (Steward's Battle) says he will remember this game for a long time.
Looks like the Scots decided to re-write history! Very nice looking game btw.
ReplyDeleteChristopher
Yes! History rewritten!
Delete