Following up on the Combat at Foz d'Arouce played on Tuesday, Matt agreed to give the scenario a whirl on Sunday. Being the fair-minded gamer that he is, he opted not to read the battle report from Tuesday's game in order to not bias his decision-making.
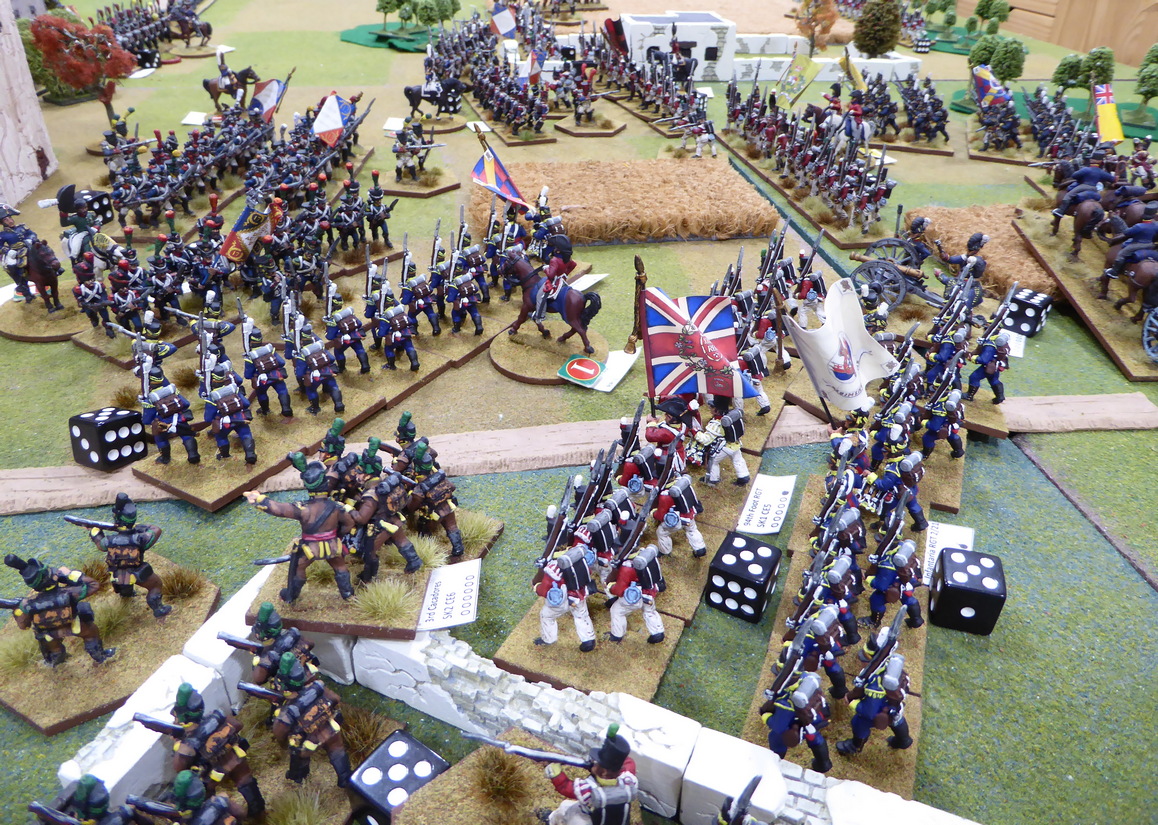
As a brief refresher on troop deployments, the armies are positioned as they were in Game 1. French deployed in and around Foz d'Arouce and the Anglo-Portuguese deployed along the bottom of the map (see game photo below). Matt would command the Anglo-Portuguese and I would command the French. After witnessing the French scrape out a victory in Game 1, I hoped to repeat this feat.
 |
| Initial deployments |
In Game 1, Picton, leading the Anglo-Portuguese army, planned to swing around the French right in attempt to cut the bridge with a general advance across the battlefield elsewhere. For the French, I wanted to counter this threat but stick with the French plan from Game 1 that produced a victory.Would history (on the game table) repeat?
 |
| The French wait |
 |
| while the British advance. |
 |
| View from behind French lines. |
The action begins as both combatants race forward to secure and control the center. In a repeat of Game 1, Mernard's Brigade advances quickly to garrison the farm to his front and threaten the allied right. MacKinnon advances on the Allied right more cautiously and the French seem to have gained a march on their adversary.  |
| No time is wasted to gain the center. |
In the center, both armies step forward to contest the ground while Beckwith and his light brigade move quickly to envelope Poisao. Colville quickly reaches Poisao with the 94th and is targeted by both artillery and musketry. The British do not waver.
 |
| Maucine brings over the 69th Ligne. |
Seeing the growing threat to the defenders in Poisao, Maucine orders the 69th Ligne to move over the Ceira River to the south bank and join the rest of his brigade. With Beckwith's light troops working their away around Poisao, only one battalion of the 6h Legere blocks the way to the crucial bridge. While stout, the 6th Legere will require support when facing such odds. |
| Firefights erupt all along the front. |
 |
| The Allies reach Poisao. |
 |
| 69th Ligne marches over the Foz d'Arouce bridge. |
 |
| Beckwith works to encircle Poisao. |
With the firefight in the woods to the west of Poisao intensifying, the 1st Cacadores pick off French gunners manning the artillery in Poisao. Sensing opportunity, the Cacadores charge into the depleted gunners. The result was never in doubt. The Portuguese overrun the guns and drive off the surviving gunners. Poisao is in allied hands!
 |
| Cacadores attack the guns in Poisao. |
 |
| Firefight in the Poisao Woods. |
Away in the distance, MacKinnon and the British right have been augmented by a battery of horse artillery. The French attack upon this flank has been stopped in its tracks. MacKinnon has also succeeded in evicting French legere from the farm as the French are last seen fleeing the compound pell-mell. They are finished for the day. The 88th Foot draws up on the western approach to the farm to prevent 74th from becoming isolated. Fighting in the center intensifies as casualties rise uniformly across all combatants. Both sides are taking a pounding but stubbornly holding ground.
 |
| MacKinnon evicts French from the farm (in background). |
With the situation on the Allied right stabilized by first halting the French advance and then counterattacking, Powers' Portuguese infantry brigade is directed toward Foz d'Arouce, itself. Four Portuguese infantry battalions come up in support of Colville. Ney wonders how he can stem this tide before it washes over him and carries him away.
 |
| Portuguese arrive! |
 |
| French are pressed on all fronts. |
With Colville and Powers' brigades forming up along the main road and a second battery racing up in support, Picton prepares to deliver what he expects to be the final attack. A quick stab toward the bridge could seal off the French escape route and bag what remains of Ney's command.
Taking a severe pounding from Beckwith's Brigade, Maucine is forced to retire. Two battalions cover the withdrawal but two battalions make their retreat over the bridge and to safety.
 |
| Allies prepare to attack. |
 |
| French infantry waver as pressure mounts. |
 |
Two of Maucine's badly beaten battalions
slip over to the north side of the Ceira. |
Trying to slow the inevitable, Ney joins the rearguard to bolster their resolve. Outnumbered, Ney's position looks futile. With more than enough infantry to cut the escape over the bridge, Picton diverts two Portuguese infantry battalions to reinforce the center. Will Ney make good his escape?
 |
| Ney joins the rearguard. |
 |
| Portuguese attack! |
 |
| Portuguese reinforce the center. |
Having played six turns and now seeing little chance of stemming the Allied tide, Ney concedes the battle.
Victory to Picton and the Anglo-Portuguese!
While this action saw hard fighting, the casualty count at the end of the day fell decidedly in favor of the Anglo-Portuguese. How this happened? I know not but the French lost two battalions to unexpected routs that did not help the situation.
In this contest, the Anglo-Portuguese (Matt) was able to outlast, outwit, and outplay the French (me!).
Congratulations on the victory, Matt! Maybe I can get you next time?