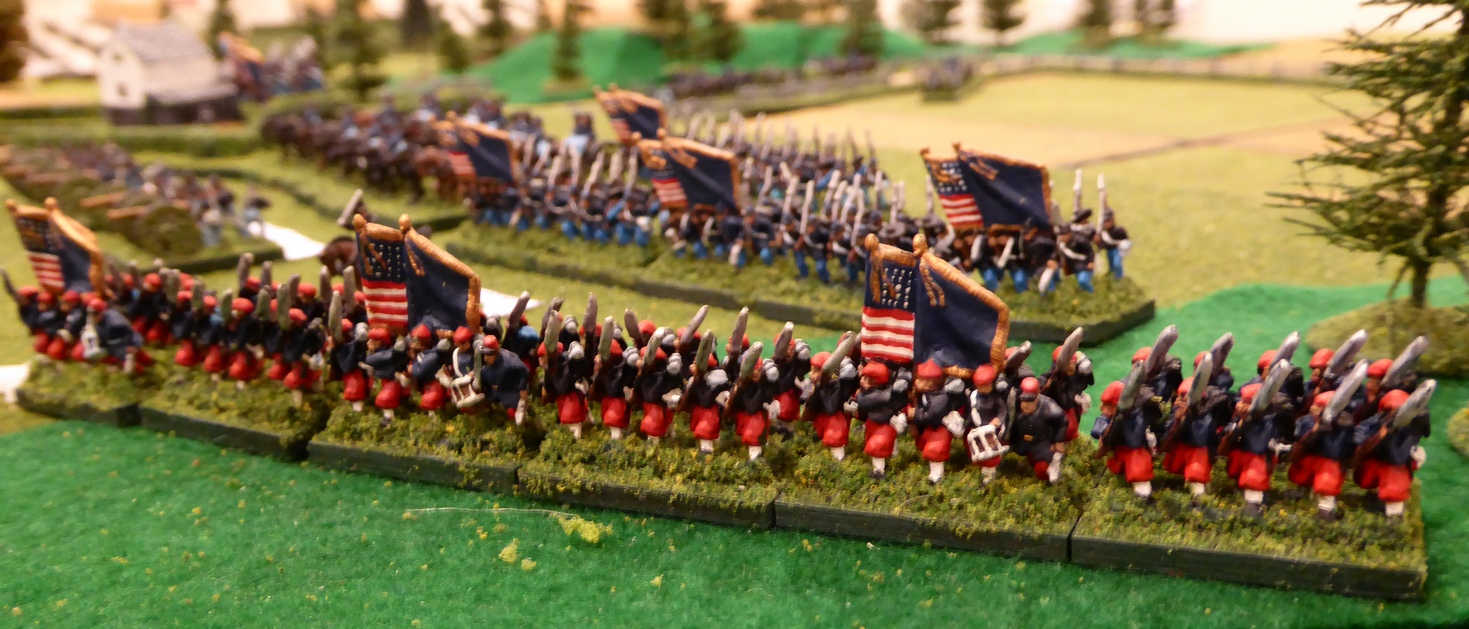
With Jackson's death and light fading quickly, General Ewell called off the attack against the Iron Brigade at Brawner's Farm. For a reminder of this earlier action see, Action at Brawner's Farm. Even though Ewell conceded the field to Gibbon and Doubleday, Gibbon's brigade had been dealt a serious blow. Could Ewell have pressed on into Gibbon as twilight approached? Both forces approached the RFF heavy casualty threshold and a good push might shove the Federals over this limit. Much kibitzing followed the game regarding the prudence of Ewell's cessation of hostilities. Having Trimble only recently joined the battle and Lawton barely engaged, fresh Confederate forces were at hand to press on. This, then, will be an account of that twilight action as Ewell retracts his own order to disengage and launches an attack on the Federal right.
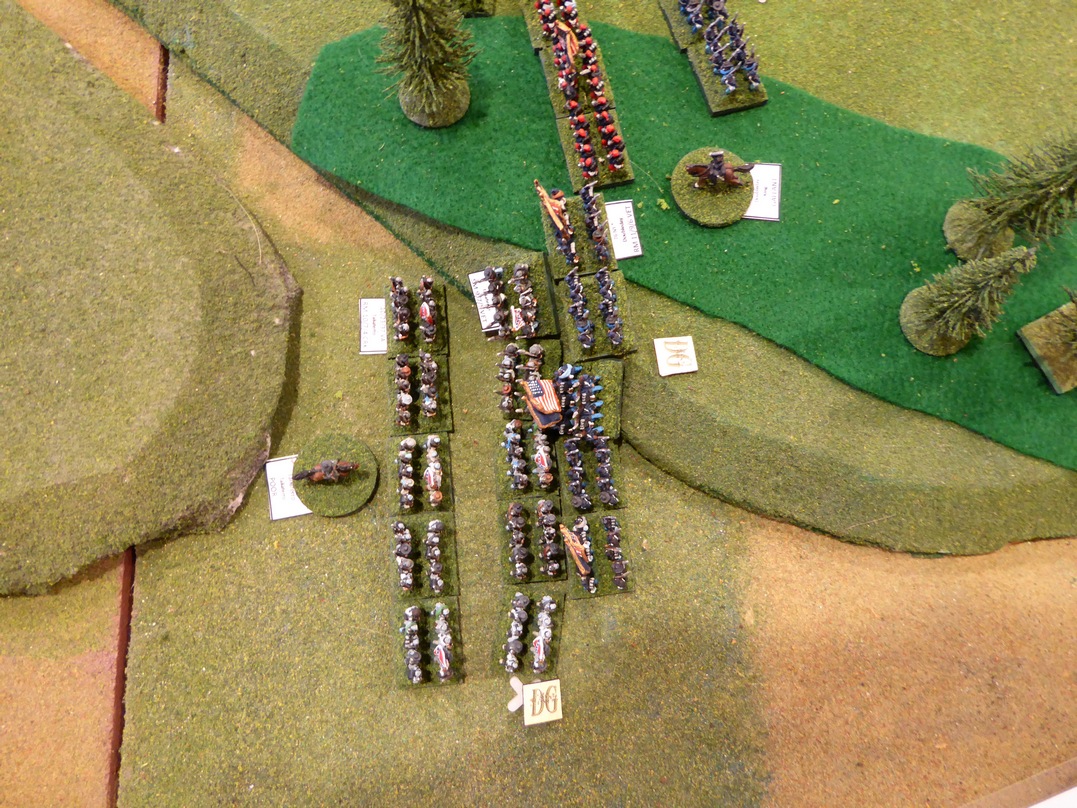
Trimble's brigade having cleared the railroad cut advances on Gibbon's right and contacts the 6 WIS at the double quick. In the assault, the 49 VA supports the attack by the 21 GA.
As the Rebels close, the 6th with support from one section of 4 US B fires into the advancing Georgians. The Georgians receive telling fire and become disordered. Undaunted, the Georgians press on into the 6th with cold steel.
Having pinned Gibbon's right, the remainder of Trimble's brigade makes its way through the woods and rocks on Stony Ridge. Perhaps, Trimble will fall onto the open flank of Gibbon's brigade?
While the Confederate guns in the copse of trees provide counter battery fire against 4 US B, the 21st GA strikes. With the 21st fresh and the 6 WIS spent, the Badgers are no match and retreat back through the broomstraw seeking shelter. The 6th suffers 80 casualties as it breaks for the rear.
Having dealt with the 6th, the Rebs turn their focus on the Federal guns. First wheeling to the right to face the guns, the Georgians light into the surprised gunners and catch the guns out of position.
The pressure from the Georgians is too great. Both gun sections limber and are driven back. Like their comrades, they too are driven back into the broomstraw field. Seeing their guns skedaddling back toward them, the 6 WIS succumbs to the stress of combat and scatters. For them, the battle is over.
Gibbon draws back his right to refuse it from the Confederate attack. Firefights develop all along the lines. In the exchange between the 2nd WIS and 60 GA, Gibbon goes down with a grievous wound.
With Gibbon lost and the Federal right reeling, Confederate attacks develop from the copse of trees to Stony Ridge. The 49th VA advances on the 7 WIS while Lawton and the 60 GA charges into the 2 WIS with 38 GA in support.
The advancing Rebels take casualties on the approach but the loss of men does not stop their momentum.
On the Confederate right, Taliaferro with the 47/48 AL advances into the 76 NY. Adding weight to the Confederate attack is the 10/23/37 VA.
Taliaferro's Alabamans go in without firing a shot against the disordered 76 NY. Unflinching, the 76th stands firm and the Alabama boys are repulsed.
Back in the center, the 60th and 38th GA goes in against the 2 WIS who have taken up positions in Brawner's Orchard. As the Georgians close, the disordered 2nd retreats out of the orchard and back into the broom straw field suffering 40 casualties.
Having witnessed the collapse of Gibbon's command on the Federal right and heavy casualties on both sides, Doubleday orders a consolidation of the Federal battle line. Still in control of Brawner's Farm with a number of guns covering the open ground, Doubleday prepares for the next Confederate attack.
That attack does not come. With the battlefield covered in darkness and unmoving bodies, the threat of commands becoming horribly intermingled in the confusion is too much. Ewell, this time, calls off the attack for good. Having reached the heavy casualty threshold and having lost more men than the Iron Brigade, Ewell sees no point in attempting to push his command farther on this day. With Jackson dead on the field, Ewell fights no more. The Iron Brigade's baptism of fire was a surprising success.

The battle result closely paralleled the actual action. Could the result have been different? I would like to think that more aggressive action early on by Jackson could have put the Federals onto their heels and slowed the Federal advance towards the higher ground around Brawner's Farm. Historically, both Gibbon and Doubleday committed their troops by regiment as needed to respond to Jackson's movements. No coordinated maneuvers occurred. Jackson's inability to get his Corps moving in a timely manner contributed to the Federals seizing and then maintaining the initiative.
The action deserves another replay and it will get one. In the next replay, several of the Federal gun sections will be confined to the Turnpike as they were historically. Allowing them to form up and advance to Brawner's Farm provided a killing zone that a timid Rebel commander would not cross.
Even with piecemeal and uncoordinated Confederate attacks, more aggressive action might make a difference. As seen on the Federal right, once Trimble got into position, Gibbon's collapse was quick. Stronger action may make a difference in seizing the Key Position at Brawner's Farm.


Great game, its always easy looking back at a game, thinking how it should have or could have worked out better or closer to reality. But hey, that's the fun of gaming, eh?
ReplyDeleteThanks, Ray! Looking back and pondering what might have been is half the fun!
DeleteWonderful write up and beautifully visual game. Outstanding! Sounds nd like a great time was had.
ReplyDeleteAppreciate your kind comments, Mark!
DeleteNice report and it all looked grand indeed. It will be interesting to see what the outcome will be after the refight.
ReplyDeleteThank you, Simon! We each have thoughts on how to conduct business a little differently next time. Will the results remain the same? That's why we game...to find out!
DeleteLovely stuff, Jonathon.
ReplyDeleteThank you, Aaron!
DeleteGreat looking game Jonathan!
ReplyDeleteGlad you approve!
DeleteA story well told. I am just re-vamping my 12mm ACW.
ReplyDeleteVery kind, Norm! Writing an entertaining BatRep takes effort. Appreciation of that effort is, well, much appreciated!
DeleteNorm, I look forward to seeing work on your 12mm ACW project. 12mm? Are these old Scruby's?
DeleteLovely armies and terrain Jonathan!
ReplyDeleteThanks, Mike!
DeleteUsual great write up of your battle/game reports Jon!
ReplyDeletePainted figures/armies, Terrain and Photos look stunning to the eye!... One weekend i will invade your wargames room with some of my armies and play 36 hours non stop wargaming! :o)
cheers,
Thank you, very much, Phil!
DeleteOne weekend you should make the journey over for some gaming!
Excellent report Jonathan!
ReplyDeleteChristopher
Thanks, Christopher!
DeleteGreat looking figures and scenery and a really entertaining and interesting battle report, the ACW seems to be every where at the moment!
ReplyDeleteBest Iain
Iain, your comments are much appreciated and provide a great source of motivation!
DeleteSimilar to what I thought might happen. Gives me something to consider for next week.
ReplyDeleteContemplating this as well...
DeleteThat was about what I figured would happen with a vigorous counterattack: more bodies, but the same overall result. Once those armies hit heavy casualties in RFF, they tend to lose any ability to deliver an attack.
ReplyDeleteWe should definitely give the scenario another go!
But was the outcome predestined if the Rebs would have acted more aggressively early on?
DeleteJake will be in town Friday night (OCT 14). Are you available?