Showing posts with label Age of Eagles. Show all posts

Thursday, October 10, 2019

Aspern-Essling and an Unhappy Bonapartist

The battle was reconvened Sunday morning to fight out the conclusion of the battle started the week prior.  In command of the Austrian left and poised to deflate the expansion of the French bridgehead across the Danube, I was eager to continue.

With one town block of Essling in Austrian hands, the Austrians are in position to challenge control of the second town block. Would the French present a defense of this real estate or withdraw before the hammer falls?  That decision may hinge on who takes the initiative.  With Napoleon present, the French hold the initiative and choose to move first. 
Austrian Left poised to drive in the French
By moving first, the French are able to begin a disengagement from both Aspern and Essling while trying to consolidate the exposed center.  On the French left, French forces contract back toward the bridge.  On the French right, defending brigades badly damaged in first assault against Essling fall back beyond the town.  Two brigades remain in garrison in an attempt to slow the Austrians.
Situation after Austrian movement
In the Austrian turn, three brigades converge upon Essling while the Austrian Reserve batteries and grenadiers advance to fill the gap between the two towns. Austrian cavalry press deep into the French positions before contacting French cavalry.  The French cavalry, still reeling from earlier efforts, are destroyed in the clash.  The path to the bridge lays open.
Austrian cavalry attack!
Austrian Reserve advances
With Austrian troops prepared to assault Essling, Napoleon can tolerate no more senseless killing.  Urged by his staff to seek safety on the far side of the Danube, Napoleon quits the field.  Victory to the Austrian Army!  The battle is over before it barely begins.
Assault on Essling
This day, there will be no happy Bonapartist.
An Unhappy Napoleon 
The conclusion of the game lasted less than 30 minutes after we began.  With a day of gaming planned, what is Plan B?  We decided to pull out Commands & Colors: Ancients and continue play with Scott's beautiful 28mm Punic Wars collection.  After a quick transition, troops were arrayed to refight Cannae.

To complete the gaming session, the Battle of Cannae was fought four times. The Carthaginians were victorious twice as were the Romans.  Cannae is a tough fight for the Romans but Scott managed to pull out two victories commanding the Romans.  Kevin and I each fell to defeat at the hands of Scott's Romans.  We vow to tackle Cannae again and see if Scott can be beaten by the Carthaginians.     


Thursday, October 3, 2019

Take One Aspern...

The taking of Aspern
and call me in the morning. I know, I know...

Scott hosted an Age of Eagles (AoE) Napoleonic game but the battle remained nameless until we arrived.  When I entered the game room, below is the sight I saw:
He asked if I could guess the battle.  Trivial question.  Looked like Aspern-Essling to me.  Beautiful layout!

Kevin, ever the Francophile, wanted to command the French under Napoleon while Scott and I split the larger attacking Austrian army.  I took command of the Austrian left and Reserve while Scott commanded the Austrian right.  My focus would be on taking Essling.  Scott's goal was to take Aspern.  The French would receive reinforcements but not until Turn 8 of the battle.  Could Napoleon be pushed into the Danube before reinforcements arrive?  That was the Austrian goal and my hope.
Austrian Left poised to attack Essling
Austrian Right with sights on Aspern
While the Austrian Reserve awaits activation, the ponderous Austrian Army lurches into motion.  On the Austrian Left, the troops advance cautiously toward the stronghold of Essling.  Being Linear infantry under AoE, Austrians in line move slowly.  Very slowly.  
Austrians advance upon Essling
On the Austrian right, no time is lost.  Scott mounts an aggressive attack from the onset of battle.  Aspern and its French defenders are under pressure immediately.  The defenders hold a hot-hand early on in repelling their attackers but the weight of the enemy force is undeniable.
Initial assaults on Aspern
Soon, Austrians are attacking in depth and enveloping the well-defended town.  In rapid succession, block after block of the village falls to the White Menace.  Action is very hot on the Austrian right while the French positions are bending but not broken.  
French defense of Aspern collapses
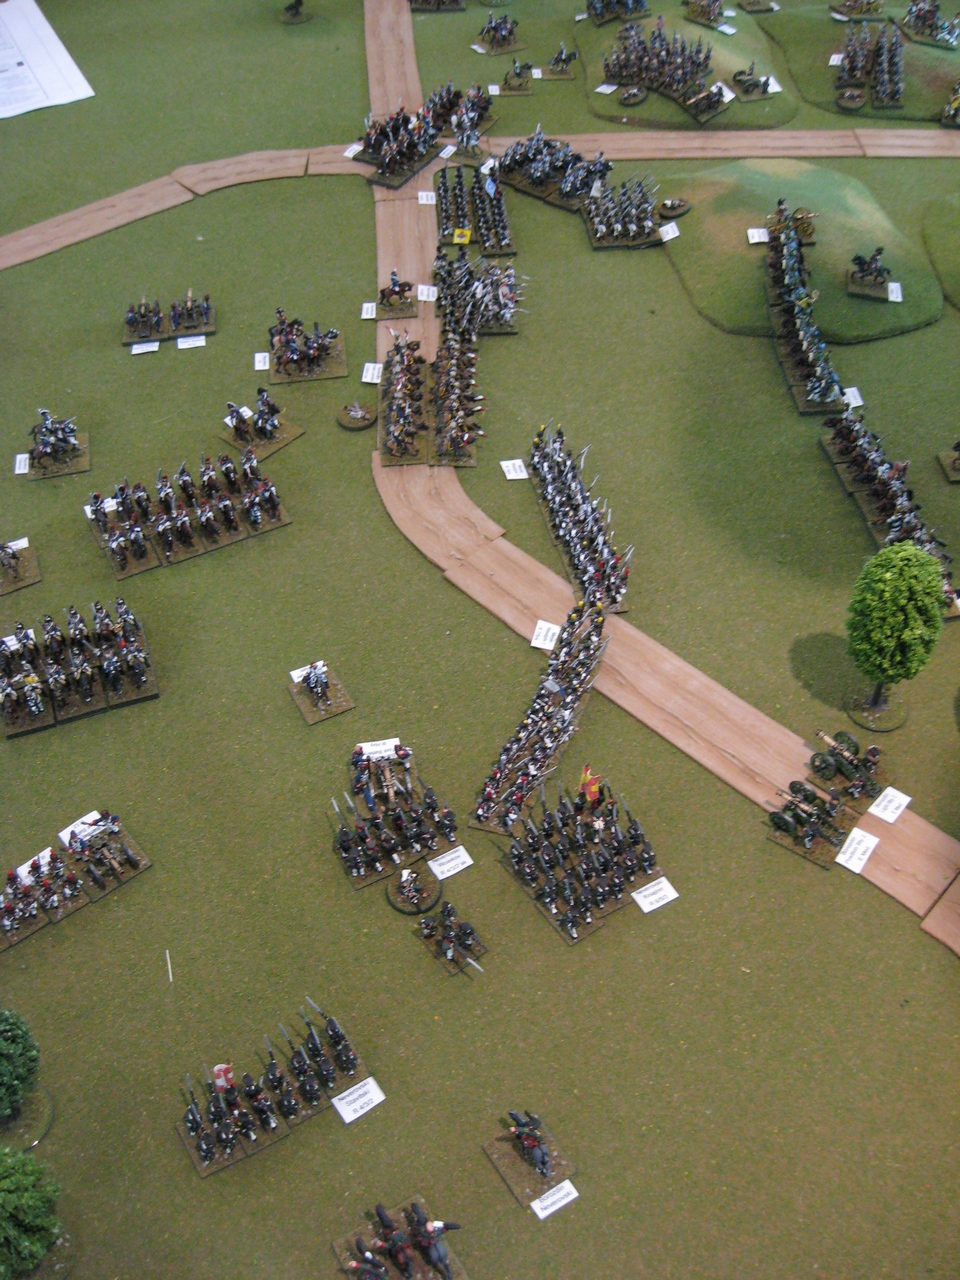
Back on the Austrian left, progress is slow for my Austrian commands as they methodically advance upon Essling.  With their backs against the Danube and re-enforcements forced to enter over a sole bridge, the French will be in a pickle if Essling falls too soon.  My objective is to press on Essling and cut the French line of communications and its retreat.
Austrian left advances upon Essling
With three large Austrian battalions closing to within musketry range of Essling, the two Austrian battalions on the extreme left attack.  Softened by artillery fire, the French are pushed back.  The French battery on the road is driven off allowing for a bit of relief to the attackers. 
French right is pushed back
Casualties to the Austrians on the French right are light.  The Austrians opposite Essling are hesitant to assault without having first softened up the defenders.  Musketry is mostly ineffective against the walled defenders.  On the French far-right flank, the French defenders continue to fall back from the threat of the two Austrian battalions.  A French battery is over-run in a failed stand following a breakthrough charge.  A few French battalions are pushed back into the swamp.  With luck, the swamp will slow the pursuit of their attackers.  
French Right softens.
As the French right bends back, a second approach to Essling is unveiled.  With the added weight of two batteries finally in position to support the attack on Essling, the defenders begin to waver.  In the center between the two villages, French hussars attack.  Successful in their first clashes with the Austrian cuirassiers, the troopers are dealt a deadly blow and break back toward the river.  With three of four Aspern town blocks taken on the Austrian right, Scott, with hands clasped, watches on as the action around Essling heats up.   
With Aspern 3/4 taken,
Scott watches on to the action at Essling
Having finally disordered Essling's defenders, the Austrian attack!  With attacks all along this axis, the French are unable to be everywhere at once.  This may be a pivotal point in the battle.  If the French can be dislodged, one town sector may fall and the second may be in jeopardy.  Tension is high as melees for the town begin.
Austrian attack on Essling
Austrian fusiliers assault Essling
The wavering defenders can not withstand the determination of their attackers.  Both assaults against Essling succeed as the survivors clamber over debris to reach safety of the second Essling town block.  The French extreme right is driven back even farther into the swamp.  A second French battery is at significant risk of loss as it remains on the road outside of Essling.  The second Essling town block nears envelopment. 
One block of Essling falls
At this point in the action, we stopped for a lunch break.  We expected to return in the afternoon to complete the battle but the lure of participating in a trivia contest at the pub was too much.  The game will be fought to conclusion on Sunday.
Battle overview at end of gaming session
What about the current situation?  My sense is that the French are in real trouble.  While I have not seen Austrian casualties suffered in the assaults on Aspern, Austrian casualties on the left have been very light.  My recollection is that only two or three stands have been lost in taking all of this ground.  All units are still Fresh and able to dish-out and absorb punishment on an offensive.  When we reconvene, Game Turn 6 will begin.  French reinforcements arrive on Turn 8.  That leaves two turns to push the French back from Essling and cut the bridge.  Is this realistic?  I think it may be.  French units around Essling have suffered greatly.  When French reinforcements do arrive, they will be lucky to debouch from the swamp and out onto the Marchfeld unmolested.  

For a perspective from the Austrian right, see Scott's account at Game Day - Aspern Essling.

Tuesday, June 25, 2013

Battle of Mont de Champion - BatRep

The gaming group gathered at Scott's for an Age of Eagles game featuring the teleportation of the ACW battle, Champion Hill, back in time to the Napoleonic Wars.  Specifically, the battle pitted French forces under the Little Corporal, himself, against the combined forces of Austrian and Russia.
French Cuirassiers prepare for charge
The French objective focused on taking and controlling the vital crossroads.  To accomplish that task, Mont de Champion must fall to the French.  A general overview of opening deployments is illustrated in the game photo below.
Opening positions
With French forces already in a position to compromise the Austrian right flank, the French plan of attack was to hit the Austrian right hard and turn that flank while applying pressure all along the front.  Having made the Austrian right untenable, the plan was to then focus on attacking the heights protecting the crossroads.

When the game began, Austrian guns held the heights while remaining troop deployments stretched along the road.  The Austrian commander hurried reinforcements to the front.
French prepare to attack Austrian  defensive line
Austrian guns on Mont de Champion
As French overpower the Austrian right and combat escalates, the Austrian left falls back as pressure on that flank increases.  French bring up lancers to within striking distance of the Austrian line while the French cavalry reserve trots forward.
Clash on Austrian left
French on the right and center advance on the crossroads.  Austrian dragoons on the extreme left strike out against the German allies but are met with a hail of cannon and musket fire.  The dragoons take heavy casualties and retreat back into the safety of the woods.
Brash Austrian dragoons strike out
From my vantage point on the far French right, I could not discern the details of the heated action on the left.  For those details, see Scott's blog entry of the battle.  I could, however, witness good French progress against Mont de Champion as waves of French infantry smashed against the Austrian gun line on the hill top.  As the smoke cleared, French troops were clearly seen controlling the heights. 
French waves slap against the Austrian gun positions
French take Mont de Champion
To bolster the Allied defense and attempt to thwart French progress, Austrian reinforcements arrive on the Allied right and the Russians arrive nearly in the French rear on the Allied left.
Russians arrive
Still, the French in the center and right push on, driving the Austrians back.  
Pretty Austrian Dragoons
French center and right presses on
With Russians on their flank, three German brigades are diverted from their primary task of driving the Austrians from the field.  To support the French right, Napoleon releases the heavy cavalry division.
Austrians withdraw while Russians attack
Russians assault French right
The French heavy cavalry quickly counter attack the Russian infantry.  The first charge of the cuirassiers is repulsed as the Russians form square but the square just as quickly draws fire from artillery.  Disordered by artillery fire, the second charge into the Russians causes them to buckle and retreat.
French counter attack Russians
With the threat to the French right flank neutralized, the task of shoving the Austrians back upon their LOC continues.  At this point, the Allies choose to break off the engagement in an attempt to disengage in the face of a victorious foe. 

French drive deep into Austrian line
 The victors and the vanquished.
French: Kevin, Scott M. Allies: Scott R and Don