With no game on last week's schedule and visitors in and out throughout, hobby activities focused primarily on administration and preparation in short and irregular bursts. I take that back, writing the Shiloh battle report in the previous post took a measurable block of time and concentration. Some tasks saw completion or at least some good progress. Others were left wanting. Let's see what got checked off for the week.
Figure Priming. With cold weather approaching quickly, time to jump start the figures "ready to paint" inventory before the really cold temperatures set in. This annual fall ritual began this week. Italian Wars, Franco-Prussian War Prussians, Sumerians, and SYW cavalry have all seen additions to the "ready to paint" pile. Much more work to do.
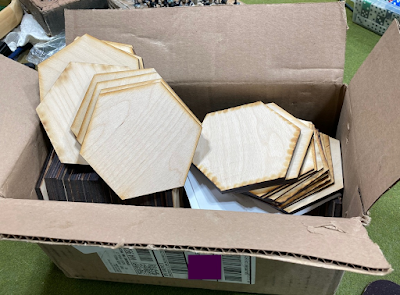
Hex Terrain. A box of wooden hexes arrived to augment both the four-inch and five-inch hex layouts. The first batch of four-inch hexes have been painted and flocked. With both scale hex layouts optimized for remote games, no hurry in adding to the already large stockpiles of painted and flocked hexes. Still, something to keep in work rotation.

Flags. With expectation that FPW Prussians will be mustering out from the painting desk, time to consider flags. One flagsheet was created with Prussian flags along with a selection of Spanish WAS flags. The Spanish flags are all from the talented hand of David at Not By Appointment.

Storage Labels. While painted figures continue to fill boxes and new boxes are brought into service, I have been negligent in adding proper labels to these newly recruited storage boxes. Fixed that this week by printing off a sheet of half dozen labels to give these unmarked boxes an identity and help in finding stuff quickly. Well, more quickly.