Friday, August 13, 2021

Shoemaker's Bridge: Game 3

For the final Shoemaker's Bridge battle in the three game series, we see two U.K. players face off against each other.  Phil (News From the Front) commands the Americans while Matt (wargamesinthedungeon) commands the British.  Each provides his own impression of the game at the blog links embedded above.  With this battle account being the third of three, the scenario and situation ought to be familiar to regular readers.  If not or a refresher is needed, past posts can be found at:

Shoemaker's Bridge Scenario

Shoemaker's Bridge: Game 1

Shoemaker's Bridge: Game 2

Was this game any different from the previous two?  Let's see.

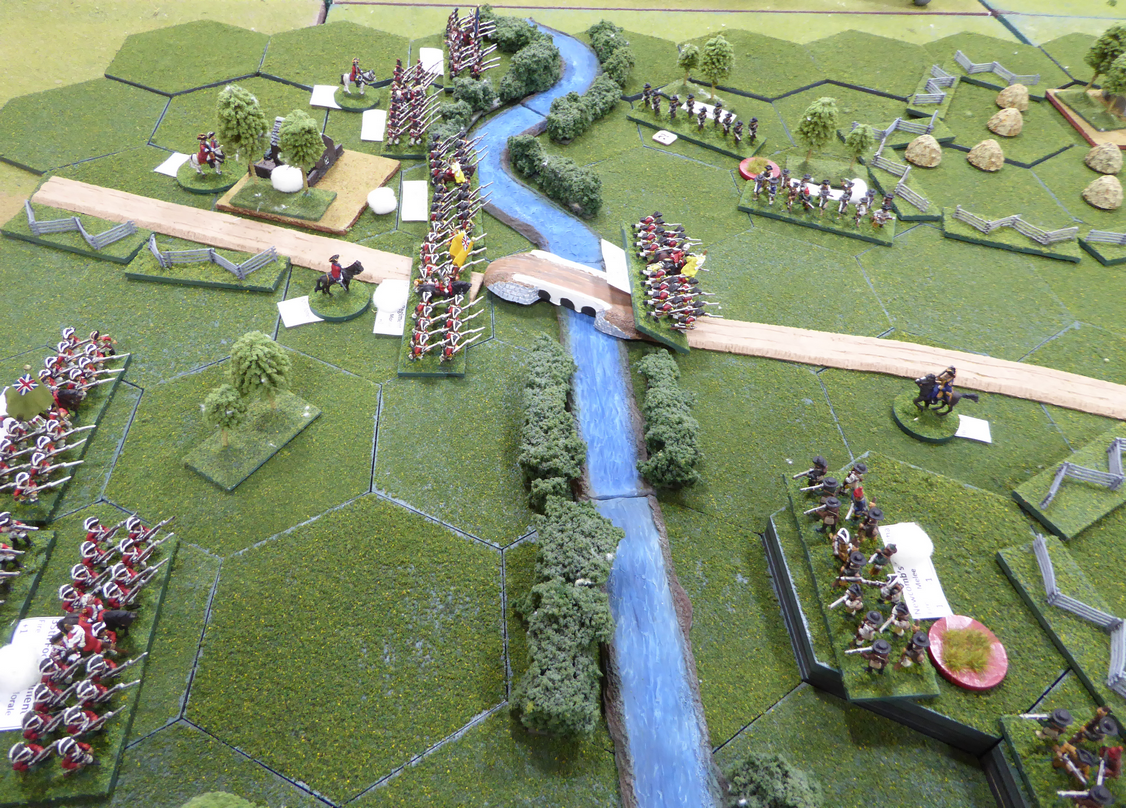
Americans deploy to cover both hill and bridge.
British come on in the same way with the
exception that one brigade goes wide right.
In the opening artillery fire, the 22nd foot,
 caught in column of march, disintegrates.
As the British approach the stream,
 Americans reinforce the hill.
Rebel reinforcements reach the battlefield
and immediately deploy into line astride the road.
Shocked by the dispersal of the 22nd foot,
Lord Percy reconsiders his options. 
The decision? ADVANCE!
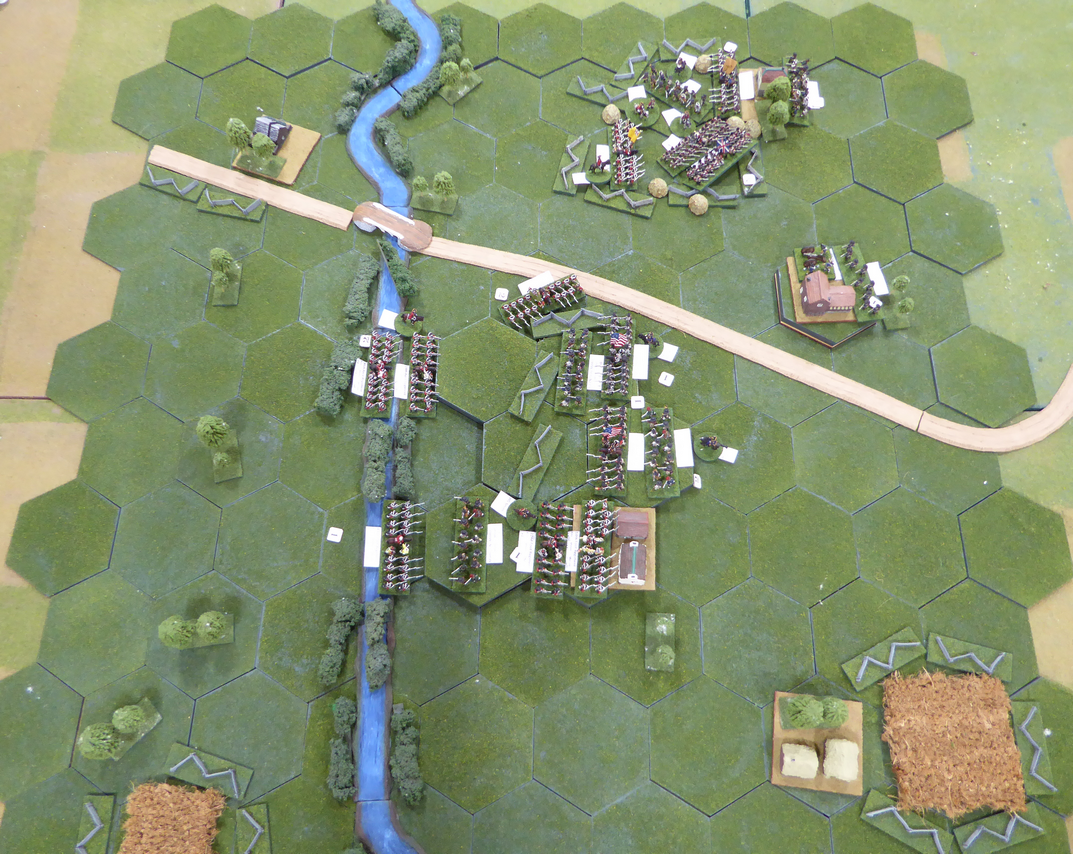
Battlefield view from SE.
The British left closes to within musketry and
begins skirmishing with the Rebels in the field.
 The British center seeks cover in the dead zone of the hill.
Notice the Rebels deploying to defend in depth.
The British advance on the left
The British flanking brigade arrives across
the stream on the right.
The British left presses on while the
 center and right prepares for action.
On the left, Rebels are driven back through the field.
They retire and form up around the farm. 
 Falling back upon supports, Rebels prepare to stand.
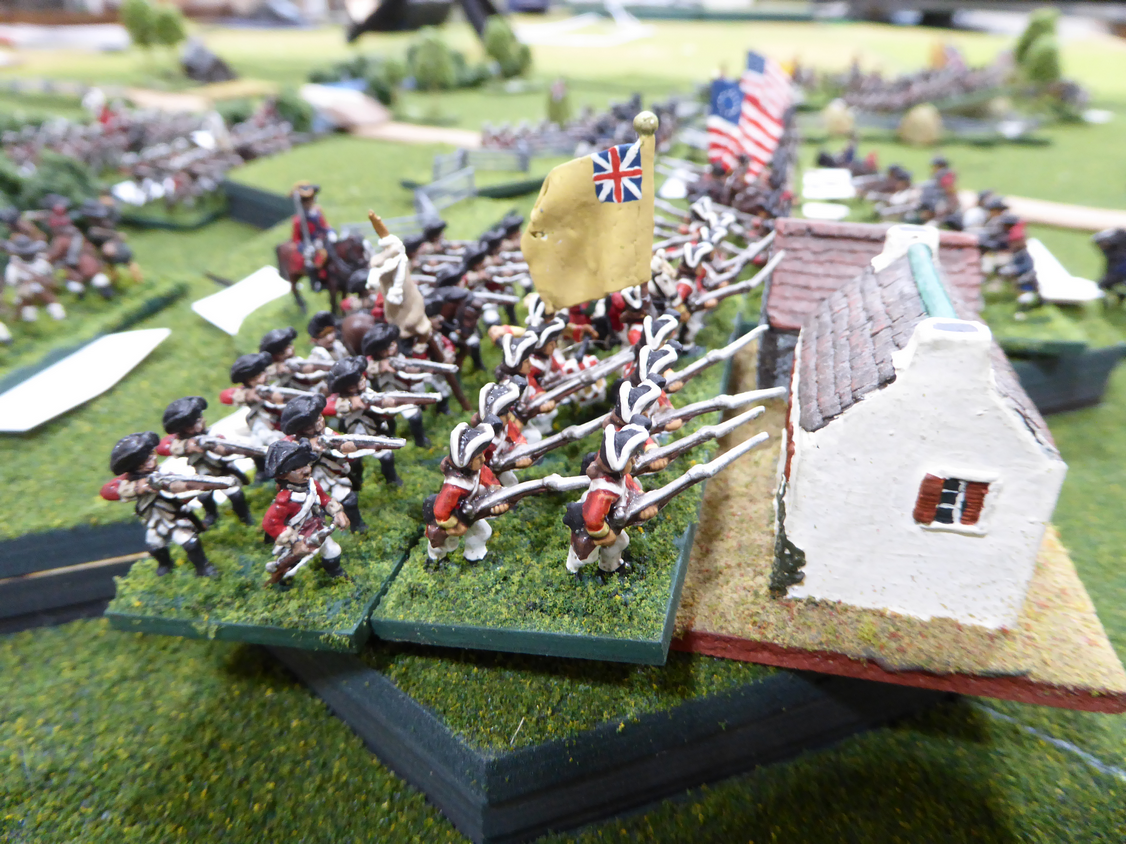
The British center assaults the heights while the brigade
 on the right attempts to turn the American position.
Rebels reinforce the heights by exchanging lines
as waves of redcoats crest the hill.
Redcoats assault Shoemaker's Farm from below.
The defenders hold.
The situation on the American left
as the left flank is threatened.
The 28th and 35th assault the farm a second time.
The second effort pays off.  The farm falls!
On the American right,
Rebels brace for an assault by the guard. 
Overhead shot of the hard fighting at Shoemaker's Farm.
With Shoemaker Farm lost and the right crumbling,
the Americans begin to withdraw.
Before the guns can limber up and retire,
they are overrun by a mad dash by Redcoats. 
 The guns are lost.
At this point, the American commander declared that he would withdraw to salvage what he could from his army.  The situation looks like a British victory but what will the Butcher's Bill and Victory Points Totals show?

Butcher's Bill:
Butcher's Bill
The British lost only two regiments to the American's seven regiments.  Game 3 resulted in a much more uneven loss than either Games 1 or 2.  Still a very bloody battle.  What about Victory Point tally?

For Victory Points, the count was British 27 to American 12.  A convincing tactical British victory.  Congratulations to Matt for the win!  Matt's Redcoats had five units that were one hit away from elimination so dispersing a few of these badly damaged units would have skewed the result towards a more even result.  I thought Phil put up a very measured and prudent defense but fate did not smile down upon the Rebels this day.  On balance, my recollection is that the British Army passed more Morale Tests than its foe.  Of course, British morale quality rating was generally higher than the Rebels as one expects.  This could have made a difference in the outcome.  A deciding difference?  We may never know.

As in the other two games, Game 3 was fought to a conclusion in about three hours.  Time passed quickly and (I thought) play was smooth and without confusion.  

Another fast-paced, enjoyable action that was engaging for me as umpire and figure-pusher.  Both Matt and Phil acclimated to a new set of rules and play effortlessly.  They made my task easy.  Perhaps, we can visit some more AWI battlefields using these rules?  I hope so.  This was great fun.

Thanks guys!

Having wrapped up all three games, a retrospective might be interesting.  What did I learn from the scenario, rules, and play while playing the scenario three times with three different groups of players?  Are the Americans destined to lose this scenario (hint: I don't think so!)?  Are there facets of play that could be improved?  What did I think worked well?  What could be improved to enhance the player experience?  While these topics may be of interest only to me, it provides some motivation for reflection.  I would enjoy hearing from the players on these topics too.

Wednesday, August 11, 2021

Shoemaker's Bridge: Game 2

Heroic Stand of the Continental Artillery
Game 2 in the three game series was fought out between Steve at Sound Officers Call and Darren at Warfare in the Age of Cynics and Amateurs.  Both have accounts of this battle on their respective blogs.  Be sure to see their thoughts on the game.  For a scenario refresher, please visit my Shoemaker's Bridge scenario.  Steve took on the role of the American Army.  Darren commanded the British.
 
Without further adieu, let's pick up the action in the battle pictorial.
Rebels opt to defend Shoemaker's Farm in force
covering the bridge with the rifles only.
Defenders of Shoemaker's Farm
British arrive in two columns.
  One on the road and the other to the right.
Lead British elements form up at the stream
 while militia moves off the hill to contest the crossing.
Redcoats stream onto the battlefield.
Rifles are driven back on the left as the British advance
 but American reinforcements reach the battlefield
to lend support.
As pressure mounts against the battery on the hill,
 American infantry quickly forms up into line.
Americans veer off to their right to contest
the rapid advance through the fields on the flank.
British are seemingly attacking EVERYWHERE!
Americans are driven back from the field on the right
while reinforcements snake their way to the left.
A second militia moves up to contest the stream crossing.
The high ground in front of Shoemaker Farm is taken.
Americans attack on the right a second time
 to drive the redcoats away from their LOC. 
The defenders of Shoemaker's Farm erupt in volleys,
crippling the lead Redcoat on the hill.
The Rebel column on the left deploys into line and advances.
Are the rebels planning a counterattack?
It appears that is a possibility.
Continentals move up to support the guns.
Perhaps no counterattack yet. 
 The Rebels lose the contest for the field on their right
 and Heard's Brigade is being shredded.
Rebel losses show five militia regiments in the Dead Pile.
Redcoats hold the end of the heights for now
 but casualties climb.
The British fall back from the heights!
On the hill by the road, the guns fend off repeated attacks.
Is the Rebel defense stiffening?
The Continentals retake lost ground!
The Rebel guns are lost as the Redcoats carry the heights.
After the guns fall,
 the Shoemaker Farm defense is breached.
The Redcoats renew their attack on the hill.
With nine American regiments scattered to the winds, the American general orders a retreat from the field.  Back to the safety of Brooklyn!

At battle's end, the state of the armies are:
Butcher's Bill
Game 2 saw even heavier casualties than in Game 1.  The British lost six regiments to the American's nine regiments.  Very bloody engagement but the British are once again victorious.  Even in defeat, the Rebel artillery performed astounding service by repelling multiple British attacks throughout the day.  Outnumbered, they hung in there until the last.  How did the victory points count up?

For Victory Points, The British tallied 25 points against 20. A tactical victory for the British.  Congratulations to Darren for the win!  As the VP total shows, this was a close match and could have gone the other way with a bit more luck and recalling that exiting units earns points.

The game took about three hours to fight to conclusion and the time passed quickly.  Very quickly.  Play was smooth without incident.  It was hard to believe that I had been standing on my feet for three hours pushing lead across the table without a break.  I remembered to take a few more photos than last time too.  Great fun! 

Both Steve and Darren were exemplary players in all regards.  They picked up the rules quickly and seemed to enjoy themselves as their blog posts suggest.  I enjoyed myself greatly getting to know two more gamers from around the world.  There is talk of a rematch...

With two Shoemaker Bridge games in the books, one battle account remains to be told.  Perhaps, next time.  Please visit Steve and Darren's blogs to read their impressions of the game. 

Monday, August 9, 2021

Shoemaker's Bridge: Game 1

Game 1 of the planned Shoemaker's Bridge battle trilogy kicked off on Tuesday in the weekly MNG remote game.  Being a UK based gaming group, I had some difficulty finding a volunteer for the American command.  Gladly, Richard stepped forward to take command of the Rebels.  With only three players in attendance, Richard would command the Rebels alone.  It is a lonely fight, for sure.  Ian and Will took charge of the British forces on the day of battle.

The battle began innocently enough with the Americans deployed to cover the approaches to Shoemaker's Bridge.  Heard's Brigade of militia, a regiment of Continental Rifles, and a section of guns were the only speed bump to the numerous, oncoming Redcoats.  Help would be on the way or so Heard hoped.

The white cotton ball denotes First Fire capability while the red disk identifies a unit as being on HOLD orders.  Units under HOLD orders may respond during the enemy's turn. 

The Rebels wait
and wait for what they expect to see advancing up the road.

The Rebels need not wait long.

Matthews leading the two Guard battalions and Jones leading the 10th, 37th, and 38th foot, deploy into line and press on to the stream covering the bridge (Ian's commands).  Pigott and Smith deploy and advance toward Shoemaker's Farm (Will's command).

For the Americans, Nixon and Parson's Brigades begin streaming onto the field of battle from the direction of Brooklyn.

The British army approaches the stream
The British left splashes across the stream
 while the British right prepares to assault the heights. 
The British right wades through the stream
and readies for the attack.
On the left, lead elements of Jones' Brigade engage the rebels in the field as the rebels seek cover behind the fence.  On the right, militia defending Shoemaker's Farm are slowing the British advance upon the heights.  Casualties mount but the numbers and discipline of the British prevails.  The British are upon the heights!
Shoemaker's Hill is under assault!
Redcoats gain a foothold on the heights!
Success is short lived.  On the left, Jones is thrown back from the field while Smith sees a similar response from Shoemaker's Farm.  The British are tumbling back down the hill having suffered heavy casualties.
The British are thrown back!
After regrouping, the British Army launches assaults across its front a second time.  These extra efforts pay off.  The American right is driven back from the field with heavy casualties as the Guard is sent in to finish the task.  On the British right, heavy ranks of redcoats storm the farm.  Shoemaker's Farm falls!
British take Shoemaker's Farm
At this point following three hours of battle, we called the outcome inevitable as the American commander declares he will withdraw.  The ending position looked like this:
Positions at end of game
Clearly, with two separate British commands, the battle divided into almost two separate battles.  On the American right, the position was collapsing quickly once the Guard made its presence felt.  On the American left, the rebels still maintained a defensible position upon the heights.  For how long?  We will never know.

At the end of battle, the Butcher's Bill showed,
Butcher's Bill
Heavy casualties, for sure.  The British lost three regiments to the American's five regiments.  Many more regiments were only one hit away from destruction.  This was a costly battle but one the British may claim as a victory.

For Victory Points, The British tallied 19 points against 13. A tactical victory for the British.  Congratulations to Ian and Will!

Shoemaker's Bridge was a good introduction to Fields of Honor.  The players picked up the mechanisms quickly and play moved along at a respectable pace.  I could see tactics developing as the game progressed.  There was talk about a rematch.